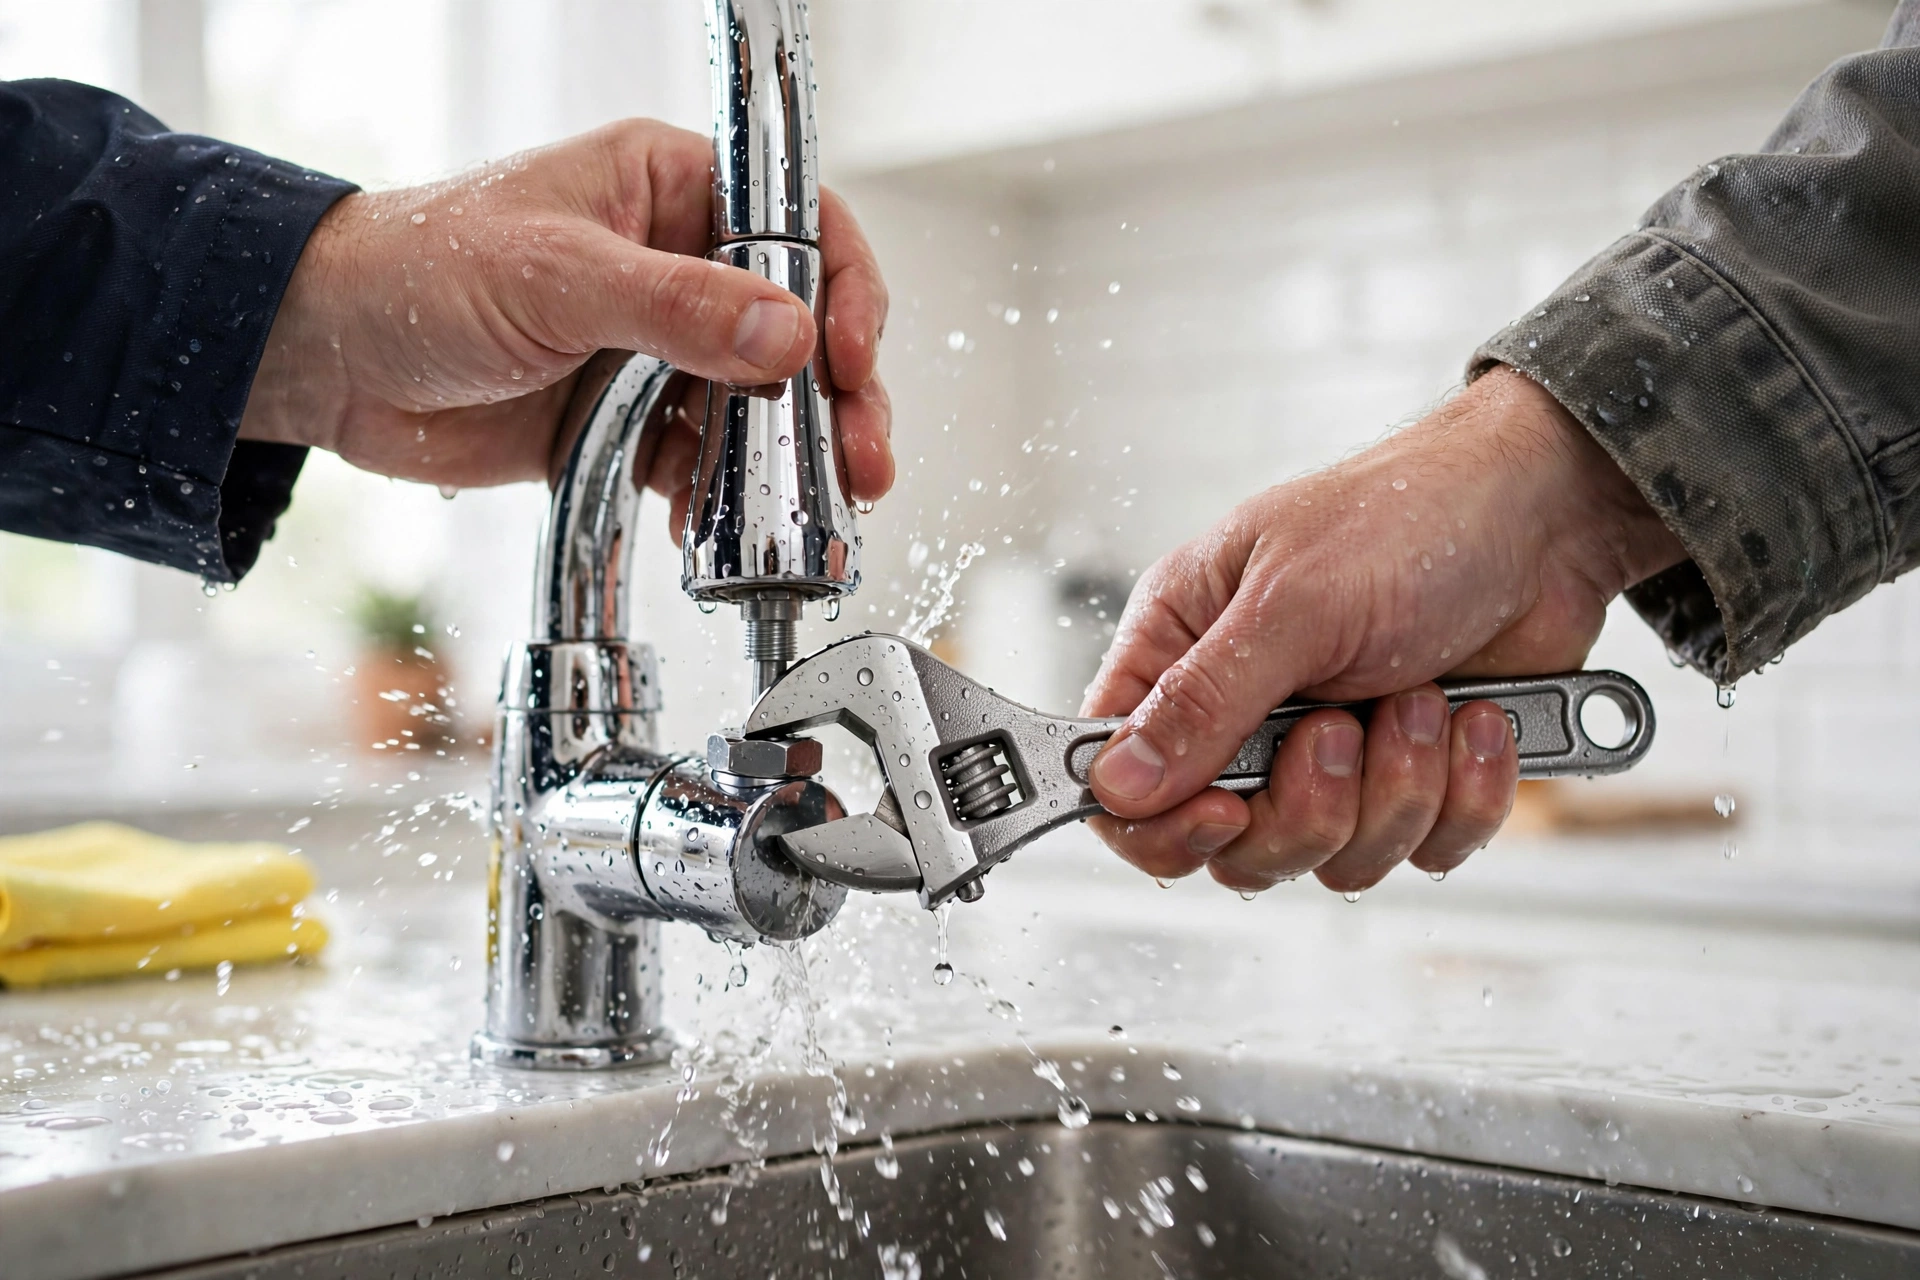
A dripping faucet is one of those small household annoyances that can quietly cost you hundreds of dollars a year. According to the EPA, a faucet that drips once per second can waste more than 3,000 gallons of water annually — enough to take 180 showers. Beyond the water bill, that constant drip wears on your patience and can stain sinks and cause mineral buildup. The good news? Fixing a leaky faucet is one of the most approachable DIY plumbing repairs you can tackle. Most fixes take under an hour and require only basic tools.
This guide walks you through diagnosing your faucet type, gathering the right tools, and completing the repair step by step for both kitchen and bathroom faucets. You’ll also learn the common mistakes that trip up beginners and — just as important — how to recognize when it’s time to call a professional plumber instead.
Tools and Materials You’ll Need
Before you start, gather everything so you’re not scrambling mid-repair with water shut off. Here’s what most faucet repairs require:
- Adjustable wrench — for loosening nuts and fittings
- Phillips and flathead screwdrivers — most faucet handles are held by one of these
- Allen wrench set — many modern single-handle faucets use a hex screw
- Plumber’s grease (silicone-based) — lubricates O-rings and cartridges for smooth operation
- Replacement parts — washers, O-rings, or a cartridge, depending on your faucet type (more on identifying yours below)
- Towels and a small bucket — to catch residual water
- Vinegar or a calcium/lime remover — for cleaning mineral deposits off parts
- A phone or camera — take photos as you disassemble so you can reassemble in the right order
Tip: Before buying parts, identify your faucet’s brand and model. Look for a logo on the faucet body or the escutcheon plate. If you can find the model number, you can order the exact replacement cartridge or repair kit from the manufacturer — many brands like Moen, Delta, and Kohler offer free replacement parts under warranty.
Step 1: Identify Your Faucet Type
There are four common faucet designs in US homes, and the repair process differs for each. Knowing which one you have is the most important step.
Compression Faucets
These are the classic two-handle faucets — separate hot and cold knobs that you twist multiple turns to open and close. If you have to turn the handle more than a quarter turn, it’s almost certainly a compression faucet. They use rubber washers that press against a valve seat to stop water flow, and worn washers are the most common cause of drips.
Cartridge Faucets
Available in both single- and double-handle versions. The handle moves up and down to control flow and side to side for temperature (on single-handle models). Inside is a replaceable cartridge — a self-contained unit that controls water flow. When these leak, you typically replace the whole cartridge.
Ball Faucets
Common in kitchens, especially older Delta models. A single handle sits atop a rounded cap and moves in all directions. Inside is a slotted metal or plastic ball that aligns with water inlets. These have the most parts (springs, seats, O-rings, cam) and are slightly more complex to repair.
Ceramic Disc Faucets
The most modern and durable type. A single lever moves over a wide cylindrical body. Inside, two ceramic discs slide against each other to control flow. They’re very reliable but when they do leak, the fix usually involves cleaning or replacing the disc cylinder and its seals.
Step 2: Shut Off the Water Supply
This step is non-negotiable. Look under the sink for the shut-off valves — there should be one for hot and one for cold. Turn them clockwise until they stop. Then turn on the faucet to release any remaining pressure and confirm the water is fully off.
If you can’t find shut-off valves under the sink (common in older homes), you’ll need to shut off the main water supply to the house. The main shut-off is usually near the water meter, in the basement, or where the water line enters the house. After shutting off the main, open the faucet to drain the lines.
Safety note: Never skip this step. Working on a pressurized faucet can cause water to spray everywhere, damage cabinets, and create a slipping hazard.
Step 3: Plug the Drain
Stuff a rag or use a sink stopper to plug the drain before you remove any parts. Faucet screws and small components are notorious for bouncing straight down the drain, turning a 30-minute job into a plumbing nightmare. If your sink is also draining slowly, see how to unclog a drain without calling a plumber.
Step 4: Disassemble the Faucet
For Compression (Two-Handle) Faucets
- Pry off the decorative cap on top of the handle with a flathead screwdriver to expose the handle screw.
- Remove the handle screw and lift off the handle. You may need to wiggle it gently — mineral buildup can make handles stick.
- Unscrew the packing nut with your adjustable wrench. Underneath, you’ll find the stem.
- Remove the stem by turning it counterclockwise (as if opening the faucet).
- At the bottom of the stem, you’ll see a small screw holding a rubber washer. Remove the screw and washer.
- Inspect the washer — if it’s cracked, flattened, or hardened, that’s your culprit. Also check the O-ring around the stem.
- Look inside the faucet body at the valve seat (the surface the washer presses against). If it’s rough or pitted, it may need resurfacing with a valve seat wrench or replacement.
For Cartridge (Single-Handle) Faucets
- Look for a small set screw on the handle — it’s often hidden under a red/blue temperature indicator cap or on the back of the handle. Loosen it with an Allen wrench.
- Lift the handle straight off.
- Remove the decorative cap or dome, then unscrew the retaining nut holding the cartridge.
- Note the orientation of the cartridge (take a photo!), then pull it straight out. Some cartridges need a gentle twist; pliers with a cloth to protect the finish can help with stubborn ones.
- Inspect the cartridge and the O-rings around it for wear, cracks, or mineral buildup.
For Ball Faucets
- Loosen the set screw and remove the handle.
- Unscrew the cap with adjustable pliers (wrap the jaws with a cloth to avoid scratching the finish).
- Remove the cam, cam washer, and the rotating ball. Note the exact order and orientation.
- Under the ball, you’ll find two rubber seats with small springs beneath them. Use an Allen wrench or your finger to lift them out.
- Replace the seats, springs, O-rings, and cam washer — most hardware stores sell a complete repair kit for your faucet brand.
For Ceramic Disc Faucets
- Remove the handle (usually a set screw on the side or back).
- Remove the escutcheon cap to expose the disc cylinder.
- Unscrew the cylinder mounting screws and lift out the cylinder.
- Inspect the ceramic discs for cracks and the rubber seals underneath for wear. Clean any mineral deposits with vinegar.
- Replace the seals and, if the discs are damaged, the entire cylinder.
Step 5: Replace Worn Parts and Reassemble
Take your old parts to the hardware store to match them exactly — washers and O-rings come in dozens of sizes, and close enough isn’t good enough. Better yet, buy a repair kit specific to your faucet brand and model.
Before reassembling:
- Clean all components with vinegar to remove mineral deposits.
- Apply a thin coat of plumber’s grease to O-rings and the cartridge — this extends their life and makes future disassembly easier.
- If you’re replacing a washer on a compression faucet, make sure it sits flat against the stem with no gaps.
Reassemble in the reverse order of disassembly, referring to the photos you took. Tighten nuts firmly but don’t overtighten — brass fittings can crack under excessive force, and overtightened packing nuts make handles hard to turn.
Step 6: Turn the Water Back On and Test
Remove the drain plug, then slowly turn the shut-off valves back on (counterclockwise). Turn the faucet on and let water run for 30 seconds to flush out any debris. Then turn it off and watch closely for several minutes. Check under the sink for any leaks at the supply connections too.
If the drip is gone, congratulations — you’ve just completed a repair that would cost $150 to $300 if you called a plumber.
When to Call a Plumber
DIY is great, but know your limits. Call a professional if:
- The shut-off valves don’t work or are corroded. If you can’t stop the water flow, you can’t safely do the repair.
- You find corroded or damaged pipes under the sink.
- The faucet body itself is cracked.
- You’ve replaced the parts and it still leaks.
- Multiple fixtures are leaking or have low pressure.
Conclusion
Fixing a leaky faucet is one of the highest-value DIY repairs a homeowner can learn. For the cost of a $5–$20 repair kit and about an hour of your time, you’ll stop wasting water, lower your utility bill, and gain confidence for bigger projects.
Disclaimer: This guide is for informational purposes only. Plumbing work involves water supply systems, and mistakes can cause water damage. If you’re unsure about any step, consult a licensed plumber. Always follow local building codes.
Leave a Reply