Category: Home Improvement

DIY guides, home renovation tips, and improvement projects for US homeowners.

  • Winter Home Maintenance Checklist for US Homeowners

    Winter Home Maintenance Checklist for US Homeowners

    Winter is the season that tests your house. Frozen pipes burst, ice dams tear off gutters, furnaces die on the coldest night of the year, and heating bills spike. The good news: nearly all winter home damage is preventable with a few weekends of maintenance in the fall — and having the right tools on hand makes every job easier. This comprehensive checklist covers everything a US homeowner should do before and during winter.

    Heating System: Your First Priority

    Fall Tune-Up (September–October)

    • Schedule a professional furnace inspection ($80–$150). A technician will clean burners, check the heat exchanger for cracks (a cracked heat exchanger can leak carbon monoxide), and test the ignition.
    • Replace the furnace filter. Check it monthly during heating season.
    • Test the thermostat. Consider upgrading to a programmable thermostat ($100–$250) — saves about 10% on heating annually.

    Carbon Monoxide Safety — Non-Negotiable

    • Install CO detectors on every floor. Test monthly.
    • Never run a generator indoors or in an attached garage.
    • If your CO alarm sounds: get everyone outside immediately, then call 911.

    Plumbing: Preventing Frozen and Burst Pipes

    A burst pipe can release 200+ gallons per day. The average insurance claim is around $15,000. Prevention costs almost nothing.

    Before the First Freeze

    • Insulate exposed pipes in basements, crawl spaces, attics, and garages. Foam sleeves cost ~$0.50/foot.
    • Disconnect and drain outdoor hoses. Shut off interior valves to exterior faucets.
    • Know where your main water shutoff is — every adult in the house should know.

    During Extreme Cold (Below 20°F)

    • Let faucets drip — a pencil-thin stream keeps water moving.
    • Open cabinet doors under sinks on exterior walls.
    • Keep thermostat at 65°F or above, even when away.

    Roof, Gutters, and Attic: Stopping Ice Dams

    Fall Inspection

    • Clean gutters thoroughly. Clogged gutters are the #1 contributor to ice dams.
    • Check attic insulation (R-38 to R-60) and ventilation — this is the real ice dam prevention.
    • Trim overhanging branches within 6 feet of the roofline.

    If Ice Dams Form

    • Use a roof rake ($40–$60) from the ground after each storm.
    • Don’t chip at ice with tools — you’ll damage shingles.

    Windows, Doors, and Insulation

    • Check weatherstripping on exterior doors ($5–$15 per door).
    • Caulk gaps around window frames where you feel drafts.
    • Reverse ceiling fans to clockwise at low speed to push warm air down.
    • Close the fireplace damper when not in use.

    Emergency Preparedness

    • Flashlights + batteries, battery radio, 3 days of water (1 gallon/person/day), non-perishable food, warm blankets, phone chargers.
    • Generator safety: Test monthly. Never run indoors or in garage — CO poisoning kills every winter.
    • Car kit: Blanket, snacks, flashlight, shovel, sand for traction, keep tank half full.

    Month-by-Month Quick Reference

    September–October

    • Furnace tune-up, clean gutters, disconnect hoses, seal drafts, test detectors, stock ice melt.

    November

    • Insulate pipes, install storm windows, reverse fans, assemble emergency kit.

    December–February

    • Check furnace filter monthly, roof-rake after snowfalls, drip faucets in extreme cold.

    Conclusion

    A $100 furnace tune-up prevents a $500 emergency call. Ten dollars of pipe insulation prevents a $15,000 water damage claim. Work through this checklist each fall, and winter becomes something you enjoy — not something you survive. Keep your essential homeowner tools ready for quick winter repairs.

    Safety note: Furnace, electrical, and roofing work can be dangerous — hire licensed professionals for anything beyond basic maintenance.

  • How to Unclog a Drain Without Calling a Plumber

    How to Unclog a Drain Without Calling a Plumber

    A slow or clogged drain is one of the most common household headaches — and one of the most fixable. Before you spend $150–$300 on a plumber, know this: the vast majority of drain clogs can be cleared with basic tools and methods that cost under $30. This guide covers kitchen sinks, bathroom sinks, tubs, and shower drains, walking you from the gentlest fixes to the heavy-duty options, plus how to keep drains clear in the first place.

    First: Identify What Kind of Clog You Have

    • Kitchen sink: Usually grease, food particles, and soap scum.
    • Bathroom sink: Almost always hair mixed with soap scum and toothpaste.
    • Tub and shower: Hair plus soap residue, forming a dense mat.

    Warning: If multiple drains are slow at the same time, the problem may be in the main sewer line — that’s a plumber job.

    Method 1: The Plunger (Yes, Really)

    Use the Right Plunger

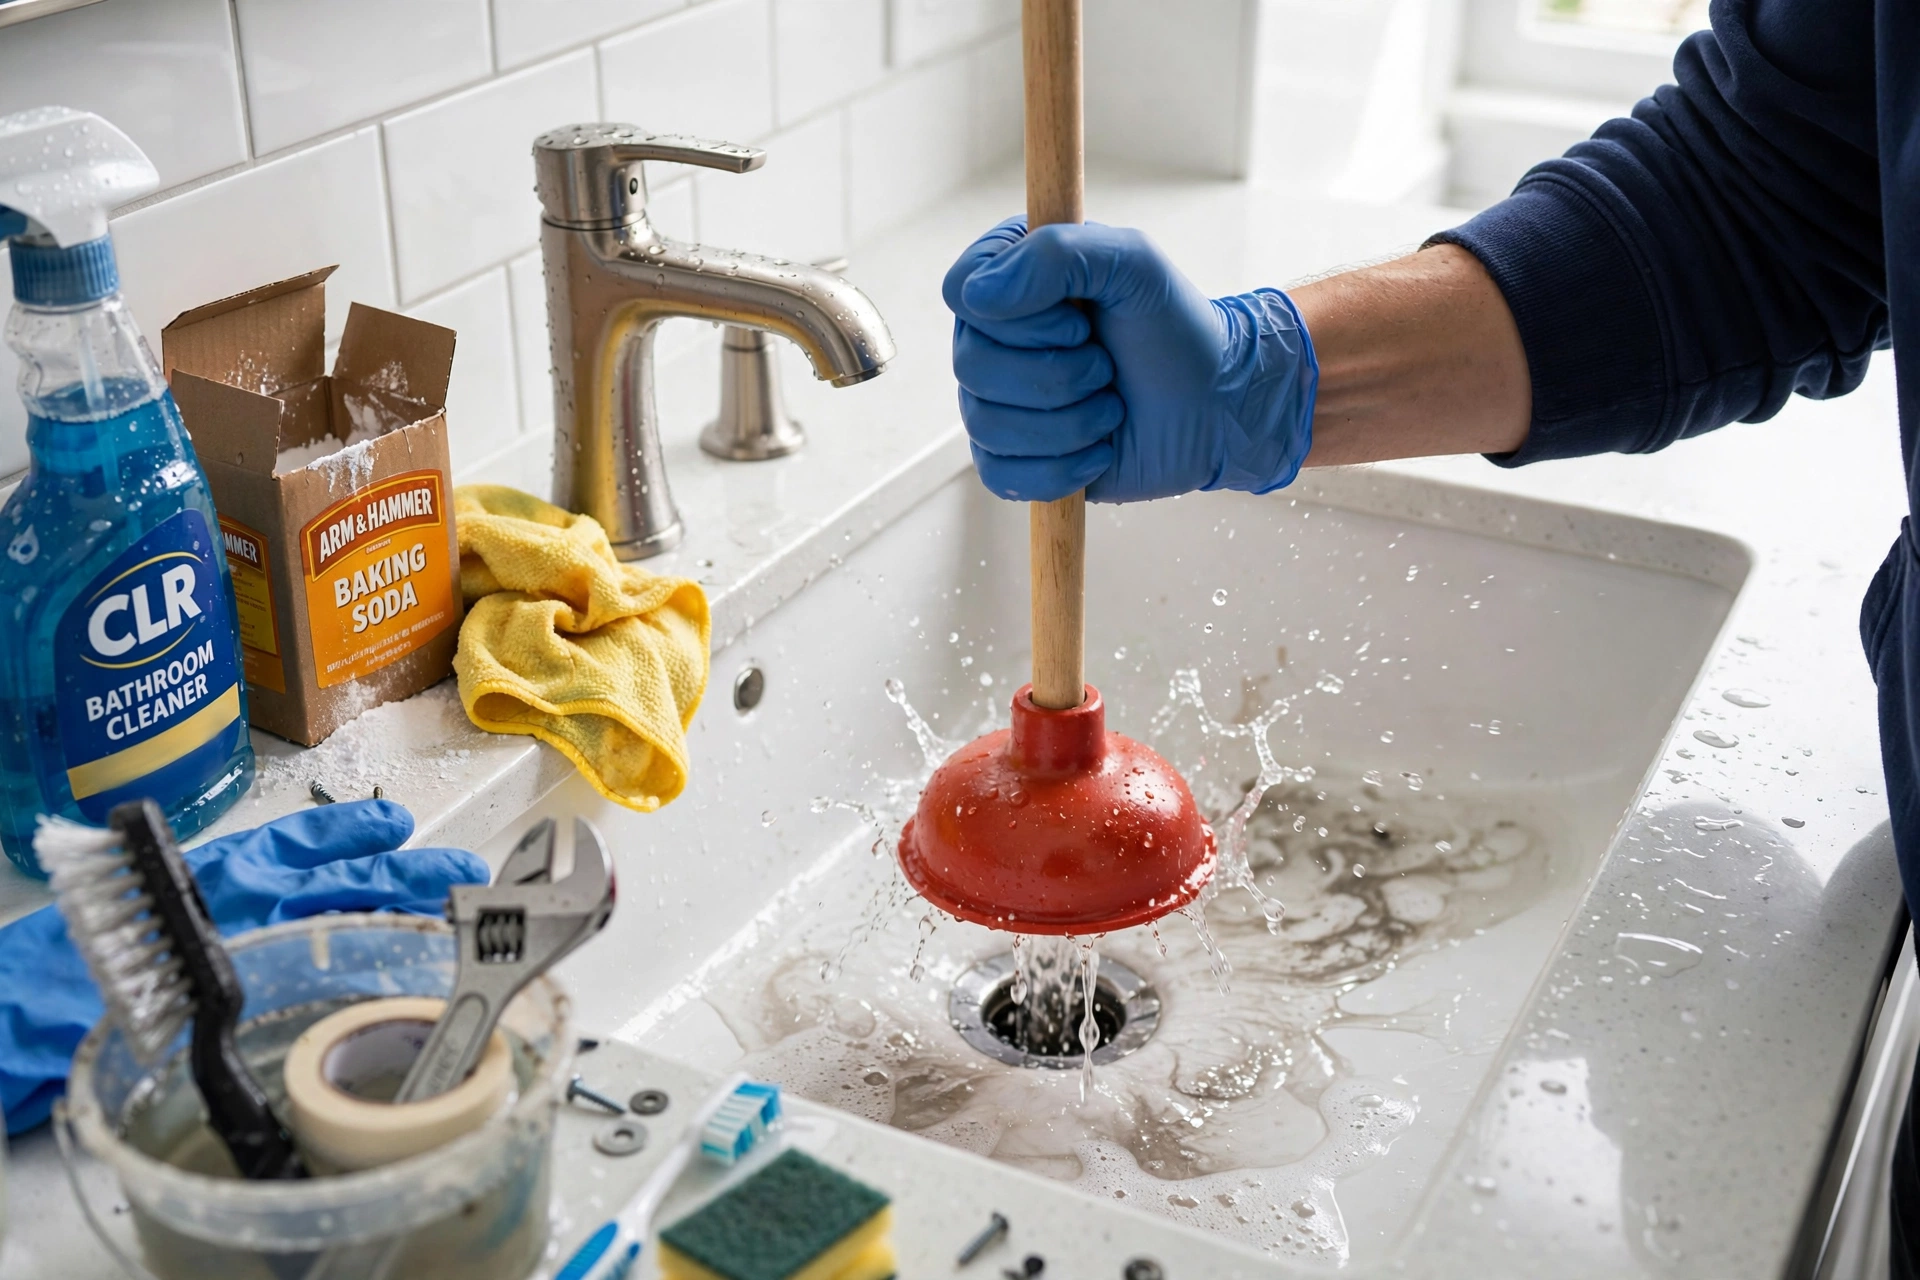
    • Cup plunger (flat bottom): for sinks, tubs, and showers.
    • Flange plunger (with fold-out flap): for toilets.

    Proper Plunging Technique

    1. Fill the sink or tub with 2–3 inches of water.
    2. Plug the other drain or overflow hole with a wet rag.
    3. Place the plunger firmly over the drain, creating a seal.
    4. Push down firmly, then pull up sharply — 10–15 vigorous strokes.

    Method 2: Remove the Stopper and Pull Out the Gunk

    For bathroom sinks and tubs, use a drain snake (hair snake) — a cheap plastic strip with barbs ($3–$5). Push it down, twist, and pull up slowly. A $4 plastic hair snake is the highest-ROI tool in home plumbing.

    Method 3: Baking Soda and Vinegar

    1. Pour 1/2 cup of baking soda down the drain.
    2. Follow with 1/2 cup of white vinegar.
    3. Cover the drain and let it fizz for 15–20 minutes.
    4. Flush with very hot (not boiling) tap water.

    Note: This loosens light soap scum but won’t dissolve a solid hair clog. Do NOT use boiling water in PVC pipes — it can soften them.

    Method 4: Dish Soap and Hot Water (Kitchen Sinks)

    1. Squirt 1/4 cup of grease-cutting dish soap into the drain.
    2. Let it sit for 5 minutes.
    3. Run the hottest tap water for 2–3 minutes.

    Method 5: The Drain Auger

    Feed the auger cable into the drain while turning the crank clockwise. When you feel resistance, keep cranking. Slowly retract — the clog should come out with it. A basic 25-foot auger costs $25–$35.

    Method 6: Chemical Drain Cleaners — Use With Caution

    • Never mix chemical cleaners. Mixing can create lethal chlorine gas.
    • Wear gloves and eye protection.
    • Never use a plunger after pouring chemicals.
    • Avoid with septic systems.

    Enzyme-based cleaners (like Bio-Clean) are the safer alternative for monthly prevention.

    What NOT to Do

    • Don’t pour grease down the drain. Ever.
    • Don’t flush “flushable” wipes. They don’t break down.
    • Don’t ignore a recurring clog. It signals a structural problem.

    Prevention

    • Mesh drain catchers in every shower and tub drain.
    • Scrape plates into trash before rinsing.
    • Monthly: baking soda + hot water down each drain.

    When to Call a Plumber

    • Multiple drains slow simultaneously
    • Sewage smell or backup
    • Clog returns within days
    • Water backs up into tub when toilet flushes

    Conclusion

    Start with the plunger, graduate to the hair snake, and keep a $30 auger in the toolbox. You’ll handle 90% of drain problems yourself. Dealing with drips rather than clogs? See how to fix a leaky faucet step by step.

    Safety note: Chemical drain cleaners can cause serious burns. Always follow safety precautions. Consult a licensed plumber if unsure.

  • Bathroom Renovation on a Budget: Complete Guide

    Bathroom Renovation on a Budget: Complete Guide

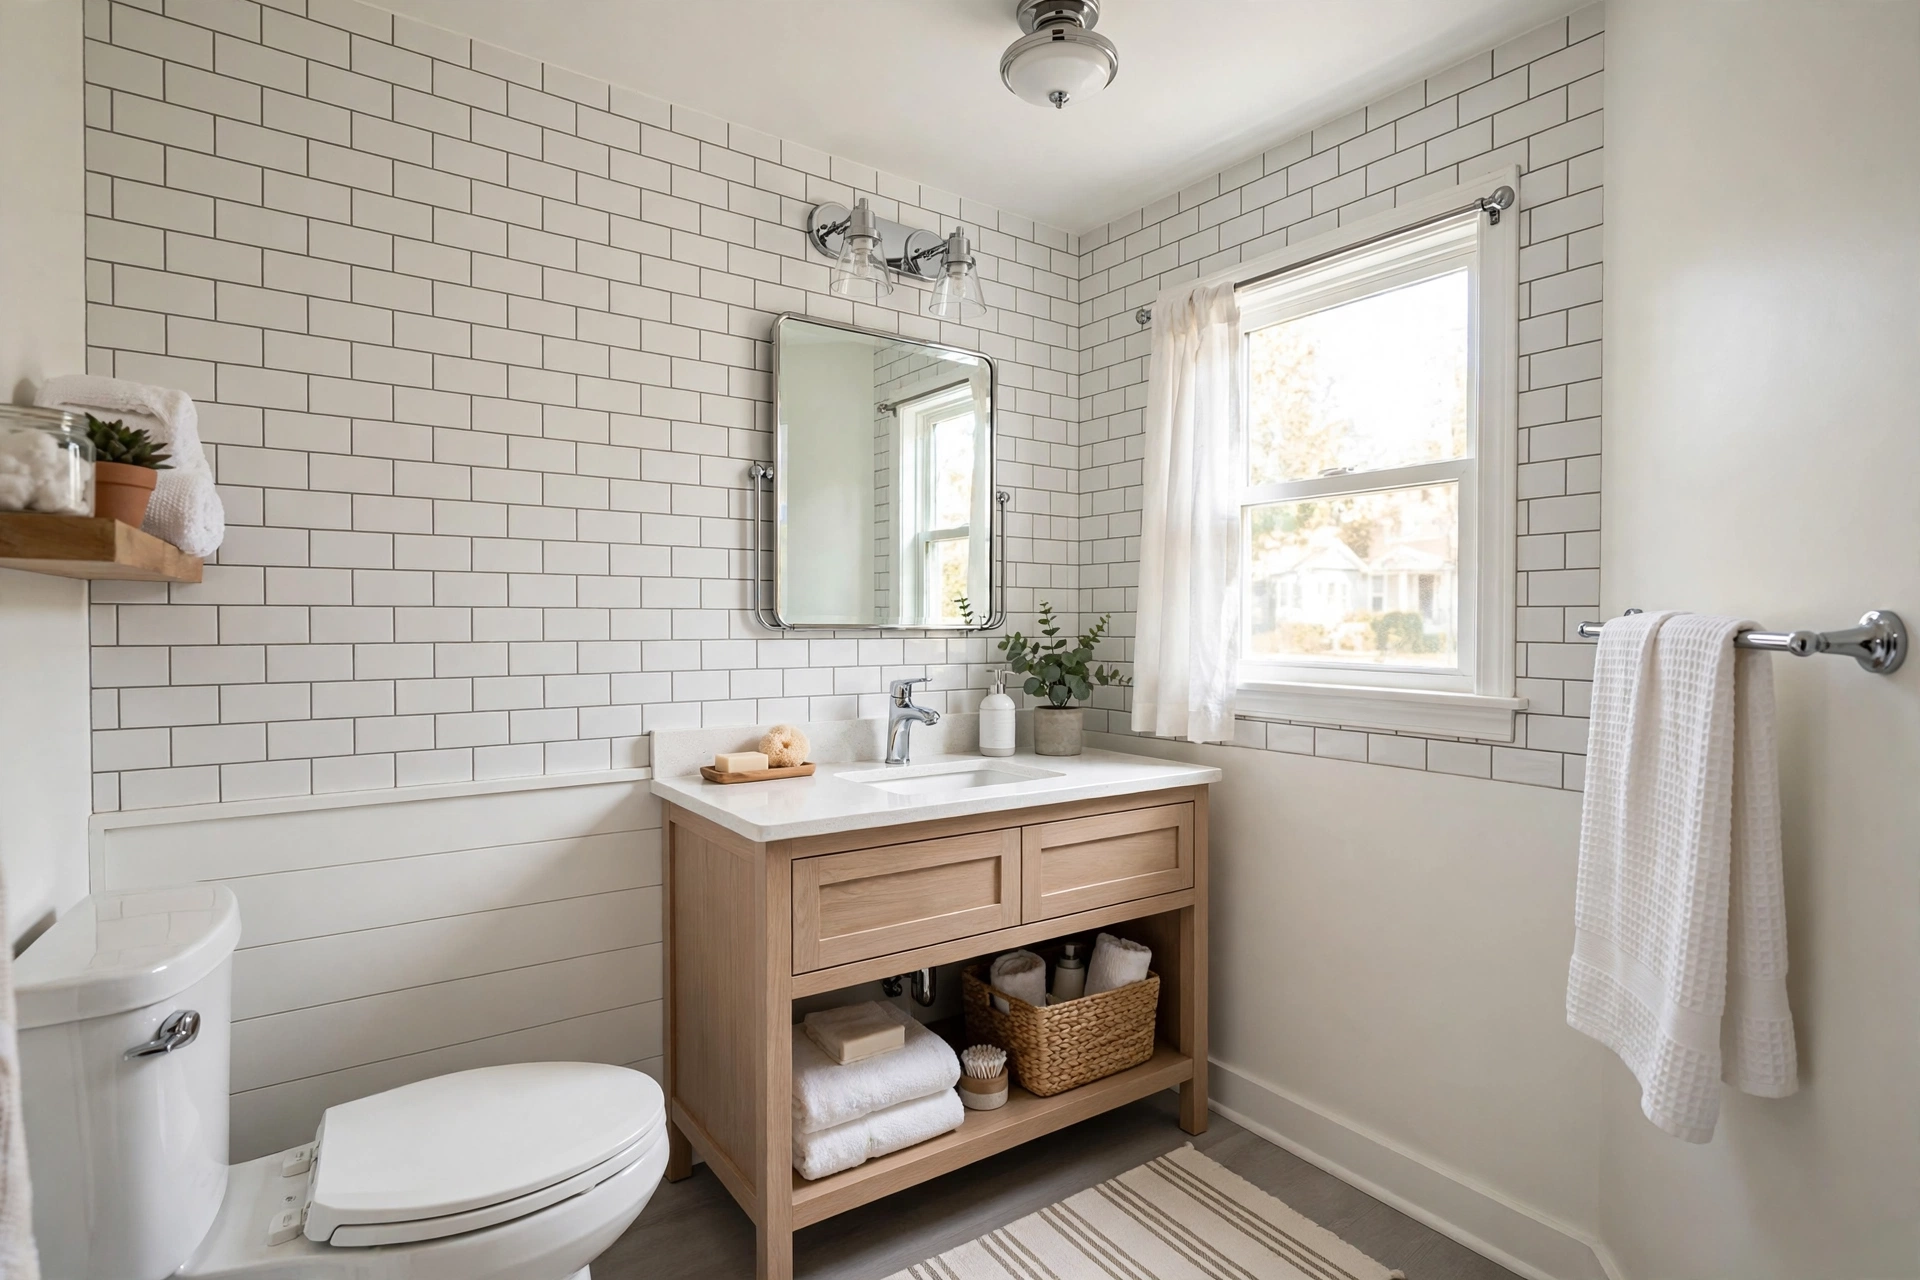
    A bathroom renovation doesn’t have to drain your savings. While the average bathroom remodel in the United States costs between $10,000 and $25,000, smart planning and strategic choices can bring that number down to $3,000–$8,000 for a small to mid-sized bathroom — without making it look cheap. This guide walks you through every step: setting a realistic budget, deciding where to save and where to splurge, figuring out what you can safely DIY, and building a timeline that keeps the project on track.

    Step 1: Define Your Scope and Set a Realistic Budget

    Before buying a single tile, decide what kind of renovation you’re doing. Bathroom remodels fall into three tiers, and knowing which one fits your budget prevents the most common (and most expensive) mistake: scope creep.

    The Three Renovation Tiers

    • Cosmetic refresh ($1,500–$4,000): New paint, updated fixtures, new mirror, new lighting, recaulking, new shower curtain or glass. No plumbing or layout changes.
    • Mid-range remodel ($5,000–$12,000): New vanity, toilet, flooring, tile surround, and lighting. Plumbing stays roughly where it is. This is the sweet spot for most budget renovations.
    • Full gut renovation ($15,000–$30,000+): Everything comes out. Reserve this for bathrooms with serious damage or when reconfiguring the space entirely.

    Build Your Budget Line by Line

    For a typical 5×8-foot hall bathroom, here’s a realistic mid-range budget breakdown:

    • Demolition and disposal: $300–$600
    • Plumbing (fixtures stay in place): $800–$1,500
    • Electrical (new lighting, GFCI outlets): $400–$800
    • Flooring (materials + install): $500–$1,200
    • Shower/tub surround tile: $800–$2,000
    • Vanity and top: $400–$1,000
    • Toilet: $150–$350
    • Faucets and shower fixtures: $200–$600 — swapping a faucet is a beginner-friendly DIY; see how to fix a leaky faucet step by step.
    • Paint and supplies: $100–$200
    • Mirror, lighting, accessories: $200–$500
    • Permits: $100–$500
    • Contingency (15–20%): $750–$1,500

    Where to Save vs. Where to Splurge

    Save Money Here

    • Tile: Basic white subway tile costs $2–$4 per square foot and looks timeless. Save expensive accent tile for a small feature.
    • Vanity: A stock vanity ($250–$500) looks nearly identical to a $1,500 custom piece once installed.
    • Toilet: A $180 toilet flushes just as well as a $600 designer model.
    • Paint: The cheapest transformation — a gallon of quality bathroom paint ($40–$60) completely changes the room. For technique, see how to paint a room like a professional.
    • Mirror: A large frameless mirror ($50–$100) makes a small bathroom feel twice as big.

    Splurge (Wisely) Here

    • Shower valve and waterproofing: Buy a quality valve from a major brand and use proper waterproofing behind the tile. A $200 valve today prevents a $3,000 leak repair later.
    • Exhaust fan: A quiet, properly sized fan prevents mold — the number one bathroom enemy.
    • Labor for tile and plumbing: A bad tile job fails within years; a good one lasts decades.

    DIY vs. Hire a Pro

    Safe DIY Tasks

    • Demolition, painting, installing vanity/toilet/mirror, caulking and grouting, installing accessories.

    Hire a Licensed Pro For

    • Moving drain lines, electrical work beyond swapping fixtures, shower tile and waterproofing, anything requiring a permit.

    Smart Shopping Strategies

    • Buy floor models and open-box items for 30–50% off.
    • Check Habitat for Humanity ReStores for donated materials at deep discounts.
    • Keep the plumbing where it is — moving a toilet can cost $1,500–$3,000.
    • Refinish instead of replace — reglazing a tub costs $300–$600 vs $1,500+ to replace.

    Conclusion

    A budget bathroom renovation is a series of smart trade-offs, not sacrifices. Keep the plumbing where it is, spend on what’s behind the walls, save on what’s in front of them, and do the demolition and finishing work yourself.

    Safety note: Plumbing and electrical work must comply with local building codes. When in doubt, hire a licensed professional.

  • How to Paint a Room Like a Professional

    How to Paint a Room Like a Professional

    A fresh coat of paint is the single most cost-effective way to transform a room. For $50 to $150 in materials, you can make a tired space feel brand new — no contractor required. Yet anyone who’s attempted it knows the gap between slapping paint on a wall and achieving that smooth, professional finish. The difference isn’t talent or expensive equipment. It’s preparation, technique, and knowing the mistakes to avoid.

    This guide covers the entire process the way professionals do it: choosing the right paint and tools, prepping the room properly, cutting in and rolling like a pro, avoiding the classic beginner errors, and cleaning up so your tools last for the next project.

    Choosing Your Paint

    Paint Types: Latex vs. Oil-Based

    For interior walls, latex (water-based) paint is the right choice in virtually every situation. It dries quickly (1–2 hours to touch), has low odor, cleans up with soap and water, and resists yellowing over time. Modern latex paints have improved so dramatically that they now rival oil-based paints in durability and finish quality.

    Oil-based (alkyd) paint is still occasionally used for trim and doors because it levels out to an exceptionally smooth, hard finish. However, it takes 6–8 hours to dry, requires mineral spirits for cleanup, has strong fumes (ventilation is essential), and is restricted or banned in some areas due to VOC regulations. For most homeowners painting walls, latex is the answer.

    Understanding Paint Finishes

    The finish (or sheen) affects both appearance and durability. Here’s how to choose:

    • Flat/Matte: No shine. Best for ceilings and low-traffic walls with imperfections, because it hides flaws beautifully. Downside: it’s the hardest to clean — scrubbing can burnish the finish.
    • Eggshell: A soft, subtle sheen. The most popular choice for living rooms and bedrooms. It hides minor imperfections while being washable enough for everyday life.
    • Satin: Slightly more sheen than eggshell. Excellent for kitchens, bathrooms, hallways, and kids’ rooms — areas that need frequent wiping. It’s more durable but shows wall imperfections more than flatter finishes.
    • Semi-gloss: Noticeable shine. Traditionally used for trim, doors, and cabinets because it’s highly durable and easy to clean. Too shiny for large wall areas in most homes.
    • High-gloss: Very shiny and dramatic. Reserved for trim, doors, and furniture. Shows every imperfection, so surface prep must be flawless.

    Rule of thumb: Eggshell or satin for walls, semi-gloss for trim and doors, flat for ceilings.

    Choosing Colors

    • Test before committing. Paint large swatches (at least 2×2 feet) on the wall or buy sample pints and paint poster boards you can move around. Observe the color in morning, afternoon, and evening light — it changes dramatically.
    • Consider the room’s orientation. North-facing rooms get cooler, bluer light (warm colors compensate nicely). South-facing rooms get warm light (cooler colors balance it).
    • Go one shade lighter than you think. Color always looks darker and more saturated on a full wall than on a tiny swatch.
    • Coordinate with fixed elements. Flooring, countertops, and large furniture aren’t changing — choose wall colors that complement them.

    How Much Paint to Buy

    One gallon of paint typically covers 350–400 square feet per coat. For a typical 12×12 bedroom with 8-foot ceilings: perimeter is 48 feet × 8 feet = 384 sq ft, minus ~50 for door/window = ~334 sq ft. That’s about 1 gallon per coat, so buy 2 gallons. It’s always better to have a little extra — running out mid-wall creates visible lap marks.

    Tools You’ll Need

    • Rollers: A 9-inch roller frame with 3/8-inch nap covers for smooth walls.
    • Brushes: A 2.5-inch angled sash brush for cutting in and trim work.
    • Paint tray with liner, painter’s tape, drop cloths, extension pole, putty knife and spackle, sandpaper (120-grit), 5-in-1 painter’s tool.

    These cover painting specifically — for a complete DIY toolkit, see our list of 10 essential tools every homeowner should own.

    Prepping the Room (The Step Everyone Skips)

    Professionals spend more time on prep than on painting. This is the real secret to a professional finish.

    1. Clear and Protect

    1. Remove all furniture from the room if possible. For large pieces, move them to the center and cover with drop cloths.
    2. Take down curtains, blinds, outlet covers, switch plates, and vent covers.
    3. Lay drop cloths over the entire floor, tucking edges under baseboards.

    2. Clean the Walls

    Wipe down walls with a damp sponge and mild detergent. For kitchens or smoky rooms, use TSP substitute. Let walls dry completely before painting.

    3. Repair Imperfections

    1. Fill nail holes and small dents with lightweight spackle using a putty knife.
    2. Once dry, sand smooth with 120-grit sandpaper.
    3. Wipe away sanding dust with a damp cloth.

    4. Caulk Gaps

    Run a thin bead of paintable caulk along gaps between trim and walls. This single step dramatically improves the finished look.

    Painting Technique: Cutting In and Rolling

    Cutting In

    1. Load your angled brush about a third of the way up the bristles.
    2. Start about an inch away from the edge, then sweep the brush toward the edge in a smooth stroke.
    3. Cut in a 2–3 inch band around all edges: ceiling line, baseboards, door/window trim, and corners.

    Rolling the Walls

    1. Load the roller until evenly saturated but not dripping.
    2. Roll in a “W” or “M” pattern to distribute paint, then fill in with parallel strokes.
    3. Always roll from dry areas into wet areas (“maintain a wet edge”).
    4. Work top to bottom, completing one wall before moving to the next.

    Order of Operations

    1. Ceiling first — drips fall down, not up.
    2. Walls second — cut in, then roll.
    3. Trim, doors, and baseboards last.

    Common Mistakes to Avoid

    1. Skipping prep work. Prep determines 80% of the outcome.
    2. Using cheap brushes and rollers. A $12 brush outperforms a $3 brush enormously.
    3. Not buying enough paint. Buy extra for touch-ups.
    4. Overloading the brush or roller. Multiple thin coats beat one thick coat.
    5. Letting the cut-in dry before rolling. This creates visible “hatbanding.”

    Conclusion

    Painting a room like a professional comes down to three things: thorough preparation, quality materials, and patient technique. Take your time with prep, invest in decent brushes and rollers, maintain a wet edge while you work, and don’t skip the second coat. Tackling a bathroom? Our bathroom renovation on a budget guide covers paint, fixtures, and more.

    Disclaimer: This guide is for informational purposes only. When painting, ensure adequate ventilation and keep paint products away from children and pets. If your home was built before 1978, test for lead paint before sanding or scraping. Always follow the paint manufacturer’s safety instructions.

  • 10 Essential Tools Every Homeowner Should Own

    10 Essential Tools Every Homeowner Should Own

    Every homeowner eventually faces the same moment: something breaks, and you realize you don’t own the right tool to fix it. Maybe it’s a loose doorknob, a picture that needs hanging, or a running toilet at 10 PM on a Sunday. Calling a handyman for every small job gets expensive fast — the average service call runs $75 to $150 before any work is even done.

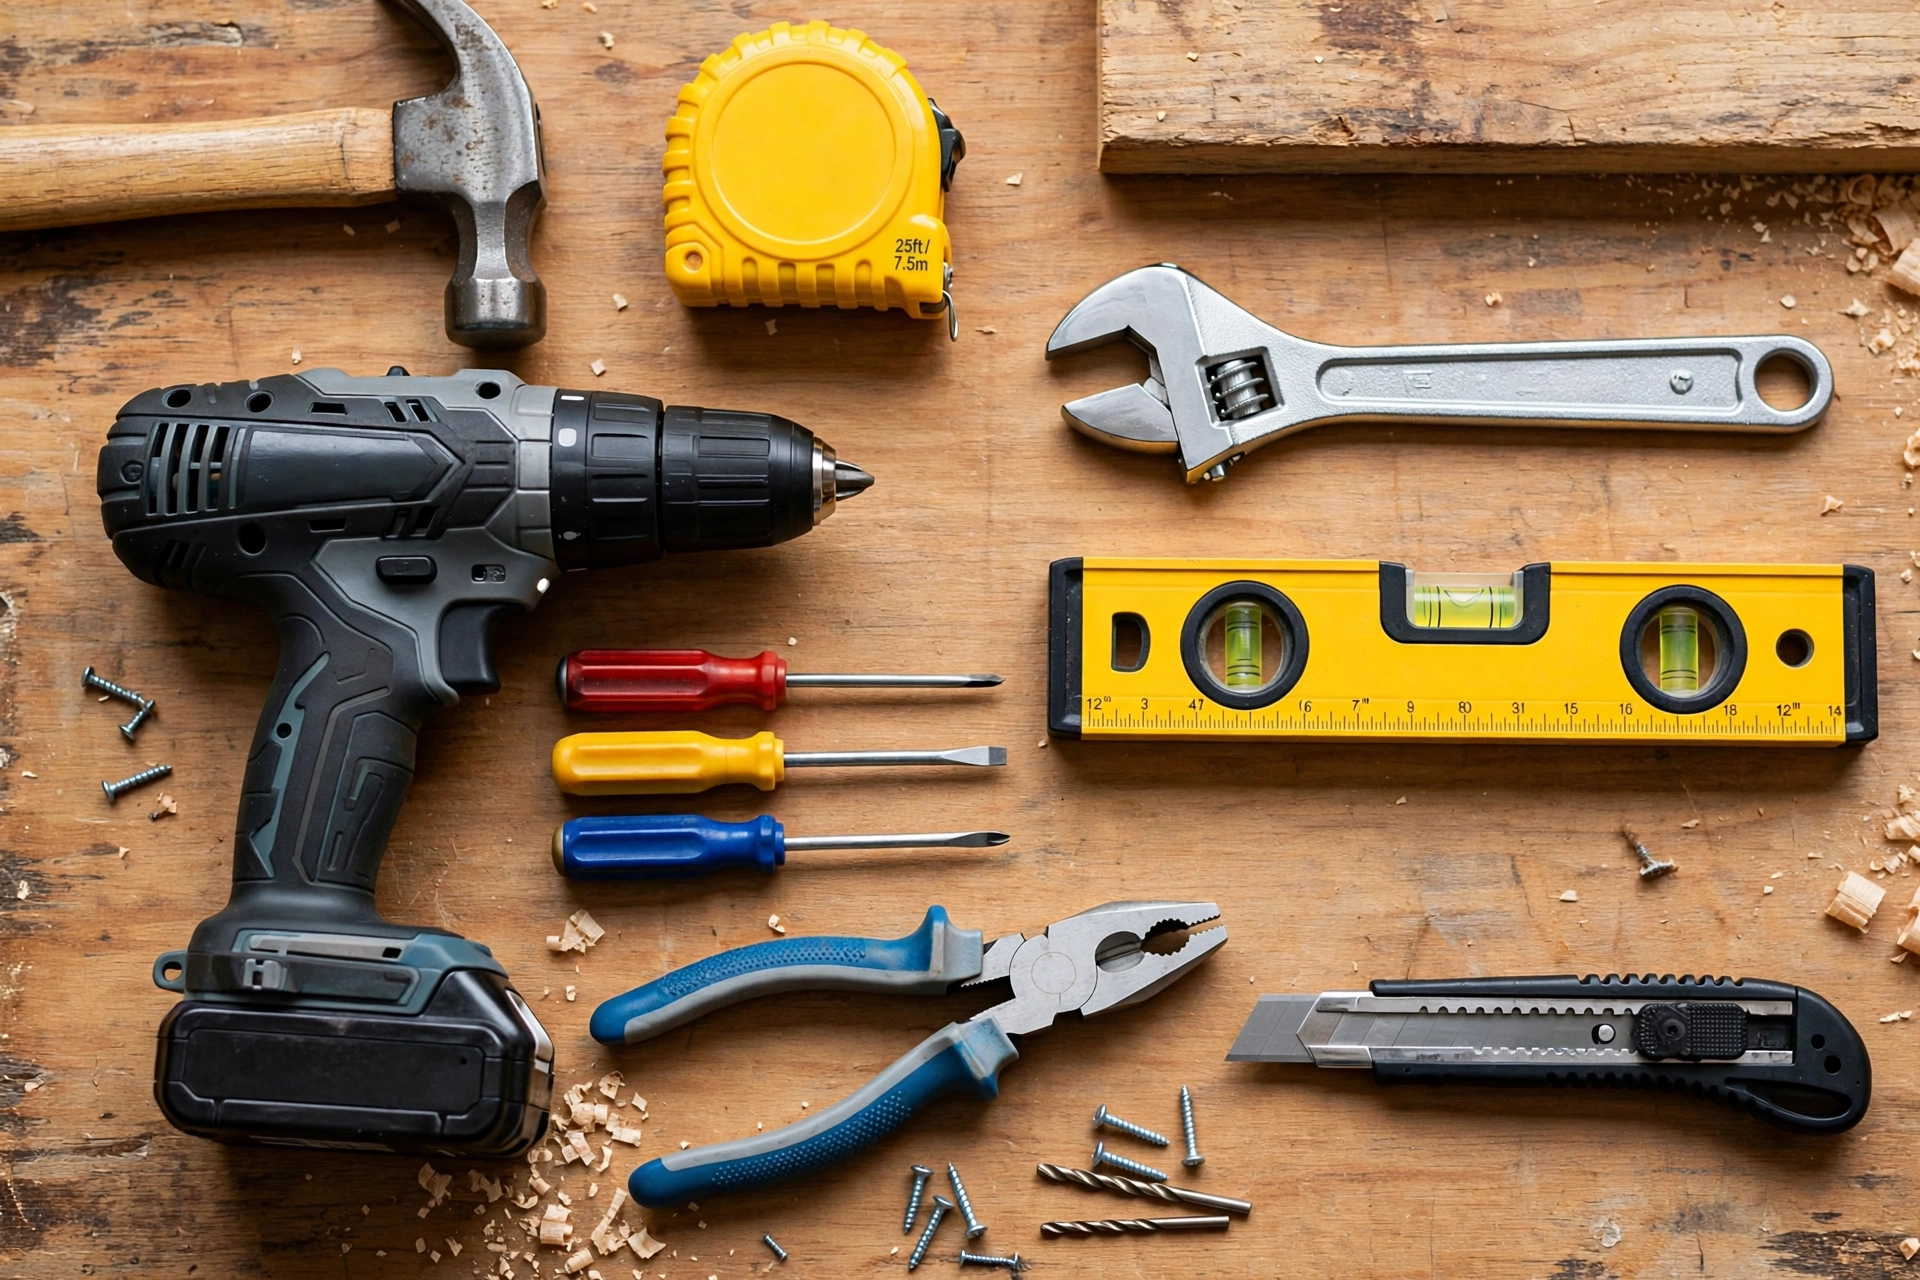
    The solution isn’t to buy an entire workshop. It’s to own a carefully chosen set of versatile, quality tools that handle the vast majority of common household repairs and projects. This guide covers the 10 essential tools every homeowner should own, explains exactly what each one does, why it earns its place, and what to look for when buying.

    1. Claw Hammer (16 oz)

    What it does: Drives and removes nails, and the curved claw doubles as a light-duty pry bar for pulling trim or opening paint cans.

    Why you need it: The hammer is the most fundamental hand tool in existence. You’ll use it to hang pictures, assemble furniture, tap things into alignment, and perform countless small tasks. A 16-ounce hammer hits the sweet spot for homeowners — heavy enough to drive framing nails but light enough for finish work without exhausting your arm.

    What to look for: Choose a hammer with a comfortable, shock-absorbing grip (rubber or cushioned vinyl over fiberglass or steel handle). Avoid ultra-cheap hammers with loose heads — a flying hammer head is genuinely dangerous. Expect to pay $20 to $35 for a quality homeowner-grade hammer from brands like Estwing, Stanley, or Craftsman. A smooth face is best for general use; a milled (waffled) face grips nails better but mars wood surfaces.

    2. Tape Measure (25 ft)

    What it does: Measures distances, dimensions, and clearances — the starting point of virtually every project.

    Why you need it: “Measure twice, cut once” isn’t just a saying; it’s the difference between a project that fits and an expensive pile of wasted material. You’ll use a tape measure for hanging curtains, buying furniture, planning room layouts, spacing picture frames, and marking cuts. A 25-foot tape handles everything from small craft measurements to room dimensions.

    What to look for: Get a tape with a wide blade (3/4″ to 1″) — wider blades extend farther without collapsing, which matters when you’re measuring alone. A standout of 7 to 9 feet is ideal. Look for clear, large markings (including stud spacing indicators at 16″ intervals, marked in red on many tapes) and a sturdy belt clip. Quality tapes cost $12 to $25. Pro tip: the metal tip is supposed to wiggle slightly — that’s intentional, accounting for the tip’s thickness on inside vs. outside measurements.

    3. Cordless Drill/Driver (12V or 18V)

    What it does: Drills pilot holes and drives screws dramatically faster than doing it by hand. With the right bits, it can also mix paint, drive bolts, and even sand.

    Why you need it: This is the single biggest time-saver on this list. Assembling flat-pack furniture, mounting a TV bracket, installing shelves, building a deck — a drill/driver turns hour-long screwdriving marathons into minutes. If you buy only one power tool, make it this one.

    What to look for: For most homeowners, a 12V drill/driver is plenty and noticeably lighter and easier to handle than an 18V model. If you plan heavier projects (deck building, drilling into masonry), step up to 18V. Key features: two batteries (so one charges while you work), a variable-speed trigger, a keyless chuck, and a clutch with multiple torque settings (prevents stripping screws). Stick with a major brand platform (DeWalt, Milwaukee, Makita, Ryobi, Bosch) so batteries are interchangeable with future tool purchases. Expect $60 to $130 for a quality kit with two batteries and a charger. Also buy a basic drill bit and driver bit set ($20–$40) — the drill is useless without bits.

    4. Screwdriver Set

    What it does: Tightens and loosens screws of all types — Phillips, flathead, Torx, and square drive.

    Why you need it: Even with a drill/driver, you’ll constantly need manual screwdrivers for delicate work: tightening eyeglass screws, opening battery compartments, adjusting door hinges, or working in tight spaces where a drill won’t fit. Electrical work (like swapping a light switch) demands insulated screwdrivers used carefully with power off.

    What to look for: Buy a set, not individual drivers — a 6 to 10-piece set covering Phillips #1/#2/#3 and flathead in several sizes handles nearly everything. Magnetic tips are extremely helpful for not dropping screws into crevices. Comfortable, full-size handles give better torque than stubby pocket drivers. A good set costs $15 to $30. Avoid the temptation of a 100-piece “precision” set as your only screwdrivers — those tiny drivers are for electronics, not household work.

    5. Adjustable Wrench (10-inch)

    What it does: Grips and turns nuts, bolts, and fittings of various sizes — one tool replaces a whole set of fixed wrenches for occasional use.

    Why you need it: Plumbing repairs (like the leaky faucet fix), assembling furniture with hex bolts, tightening a loose showerhead, adjusting a bike — the adjustable wrench handles all of these. A 10-inch wrench covers the most common household nut sizes while still fitting under sinks.

    What to look for: The jaw should adjust smoothly with no wobble, and the knurl (the thumb wheel) should turn easily. Cheap adjustable wrenches slip under load and round off nut corners — buy a reputable brand (Channellock, Crescent, Craftsman) for $18 to $30. Consider adding a second, smaller 6-inch wrench later for tight spaces. Never use an adjustable wrench as a hammer, and always pull toward you rather than pushing — if the wrench slips, you want it moving away from your knuckles, not into them.

    6. Level (24-inch)

    What it does: Tells you whether something is perfectly horizontal (level) or vertical (plumb).

    Why you need it: Crooked shelves, tilted picture frames, a leaning fence post — the human eye is surprisingly bad at judging true level, especially on walls that aren’t perfectly straight themselves. A level ensures your work looks professional rather than amateurish. You’ll use it for hanging anything on walls, installing curtain rods, setting appliances, and checking floors.

    What to look for: A 24-inch level is the most versatile size for homeowners — long enough for shelves and small enough to handle easily. Look for a sturdy aluminum or acrylic body with at least two vials (horizontal and vertical). Magnetic edges are a nice bonus for working with metal. Accuracy matters more than features; test by placing the level on a flat surface, noting the bubble position, then flipping it end-to-end — the bubble should read the same. Quality levels run $15 to $35. For longer spans (like checking a whole wall), you can extend your reach by placing the level on a known-straight board.

    7. Utility Knife

    What it does: Cuts boxes, trims wallpaper, scores drywall, strips wire insulation, opens packaging, and handles dozens of cutting tasks.

    Why you need it: You’ll reach for this more often than you’d expect. It’s the right tool for breaking down moving boxes, cutting rope and twine, trimming carpet edges, sharpening pencils for marking, and scoring materials before snapping them. A sharp utility knife is actually safer than a dull one — dull blades require more force and slip more easily.

    What to look for: Get a retractable knife with a comfortable grip and quick blade-change mechanism. Buy extra blades — a 50-pack costs under $10 and you’ll go through them. Always retract the blade when not in use, and cut away from your body. For $10 to $20, this is the cheapest tool on the list and one of the most used. Keep it in a drawer, not loose in a toolbox where you might grab the exposed blade.

    8. Pliers Set (Slip-Joint + Needle-Nose)

    What they do: Grip, bend, twist, and pull. Slip-joint pliers handle larger objects (pipe fittings, stubborn lids); needle-nose pliers reach into tight spaces and grip small items (wire, pins, cotter keys).

    Why you need them: Pliers are your “third hand.” They hold a nut while you turn a bolt, pull nails the hammer claw can’t reach, bend wire for a picture hanger, and grip stripped screws. Needle-nose pliers are essential for any electrical or jewelry-scale work around the house.

    What to look for: Buy them as a set — a 3-piece set (slip-joint, needle-nose, and linesman/cutting pliers) typically costs $25 to $45 and covers everything. Look for hardened steel jaws with comfortable, dipped or cushioned handles. The cutting edge near the pivot should cleanly snip wire. Avoid using pliers on finished surfaces (like chrome fixtures) without wrapping the jaws in cloth — the serrated teeth will scratch.

    9. Stud Finder

    What it does: Locates wooden studs behind drywall so you can anchor heavy items securely.

    Why you need it: Drywall alone can’t hold much weight — a TV mount, heavy mirror, or bookshelf anchored only to drywall will eventually rip out and damage your wall. Studs (the vertical 2×4 framing behind the wall) provide solid anchoring. Guessing stud locations by knocking is unreliable; a stud finder takes the guesswork out.

    What to look for: Electronic stud finders ($25–$50) detect density changes behind the wall and are far more reliable than old magnetic ones. Look for one with deep-scan mode (detects through thicker walls), AC wire detection (warns you before drilling into electrical wiring — a critical safety feature), and a clear display. To use: calibrate on an empty wall section, then slide slowly horizontally until it indicates a stud edge. Mark both edges — the center between them is your target. Always verify with a small pilot hole before committing to a large anchor.

    10. Stepladder (4-foot)

    What it does: Gives you safe, stable elevation for reaching ceilings, high shelves, light fixtures, and the tops of cabinets.

    Why you need it: Standing on chairs, countertops, or wobbly step stools is one of the leading causes of household fall injuries. A proper stepladder with a stable base, locking spreader bars, and a top platform for tools is dramatically safer. You’ll use it for changing light bulbs, painting a room like a professional, cleaning gutters (from a safe height), installing smoke detectors, and reaching high storage.

    What to look for: A 4-foot stepladder reaches 8-foot ceilings comfortably for most adults. Choose fiberglass over aluminum if you’ll ever work near electricity (fiberglass doesn’t conduct). Check the duty rating — Type IA (300 lbs) is the sturdiest for homeowner use. Look for wide, slip-resistant steps, a tool tray on top, and spreader bars that lock firmly. Expect $60 to $120. Never stand on the top cap or the top step, keep your hips within the rails (don’t overreach sideways), and always set up on firm, level ground.

    Conclusion

    These ten tools — hammer, tape measure, cordless drill/driver, screwdrivers, adjustable wrench, level, utility knife, pliers, stud finder, and stepladder — will handle the overwhelming majority of repairs and projects a homeowner encounters. The total investment for quality versions runs roughly $300 to $500, which you’ll recoup the first few times you fix something yourself instead of calling a professional.

    Start with the basics, buy quality where it counts, and add specialized tools as your projects demand them. Before long, you’ll look at a household problem and think “I can fix that” — and you’ll be right.

    Disclaimer: This guide is for informational purposes only. Always follow tool manufacturers’ safety instructions. For electrical work, turn off power at the breaker and verify with a voltage tester; when in doubt, hire a licensed electrician. For plumbing and structural work beyond basic repairs, consult a qualified professional.

  • How to Fix a Leaky Faucet: Step-by-Step DIY Guide

    How to Fix a Leaky Faucet: Step-by-Step DIY Guide

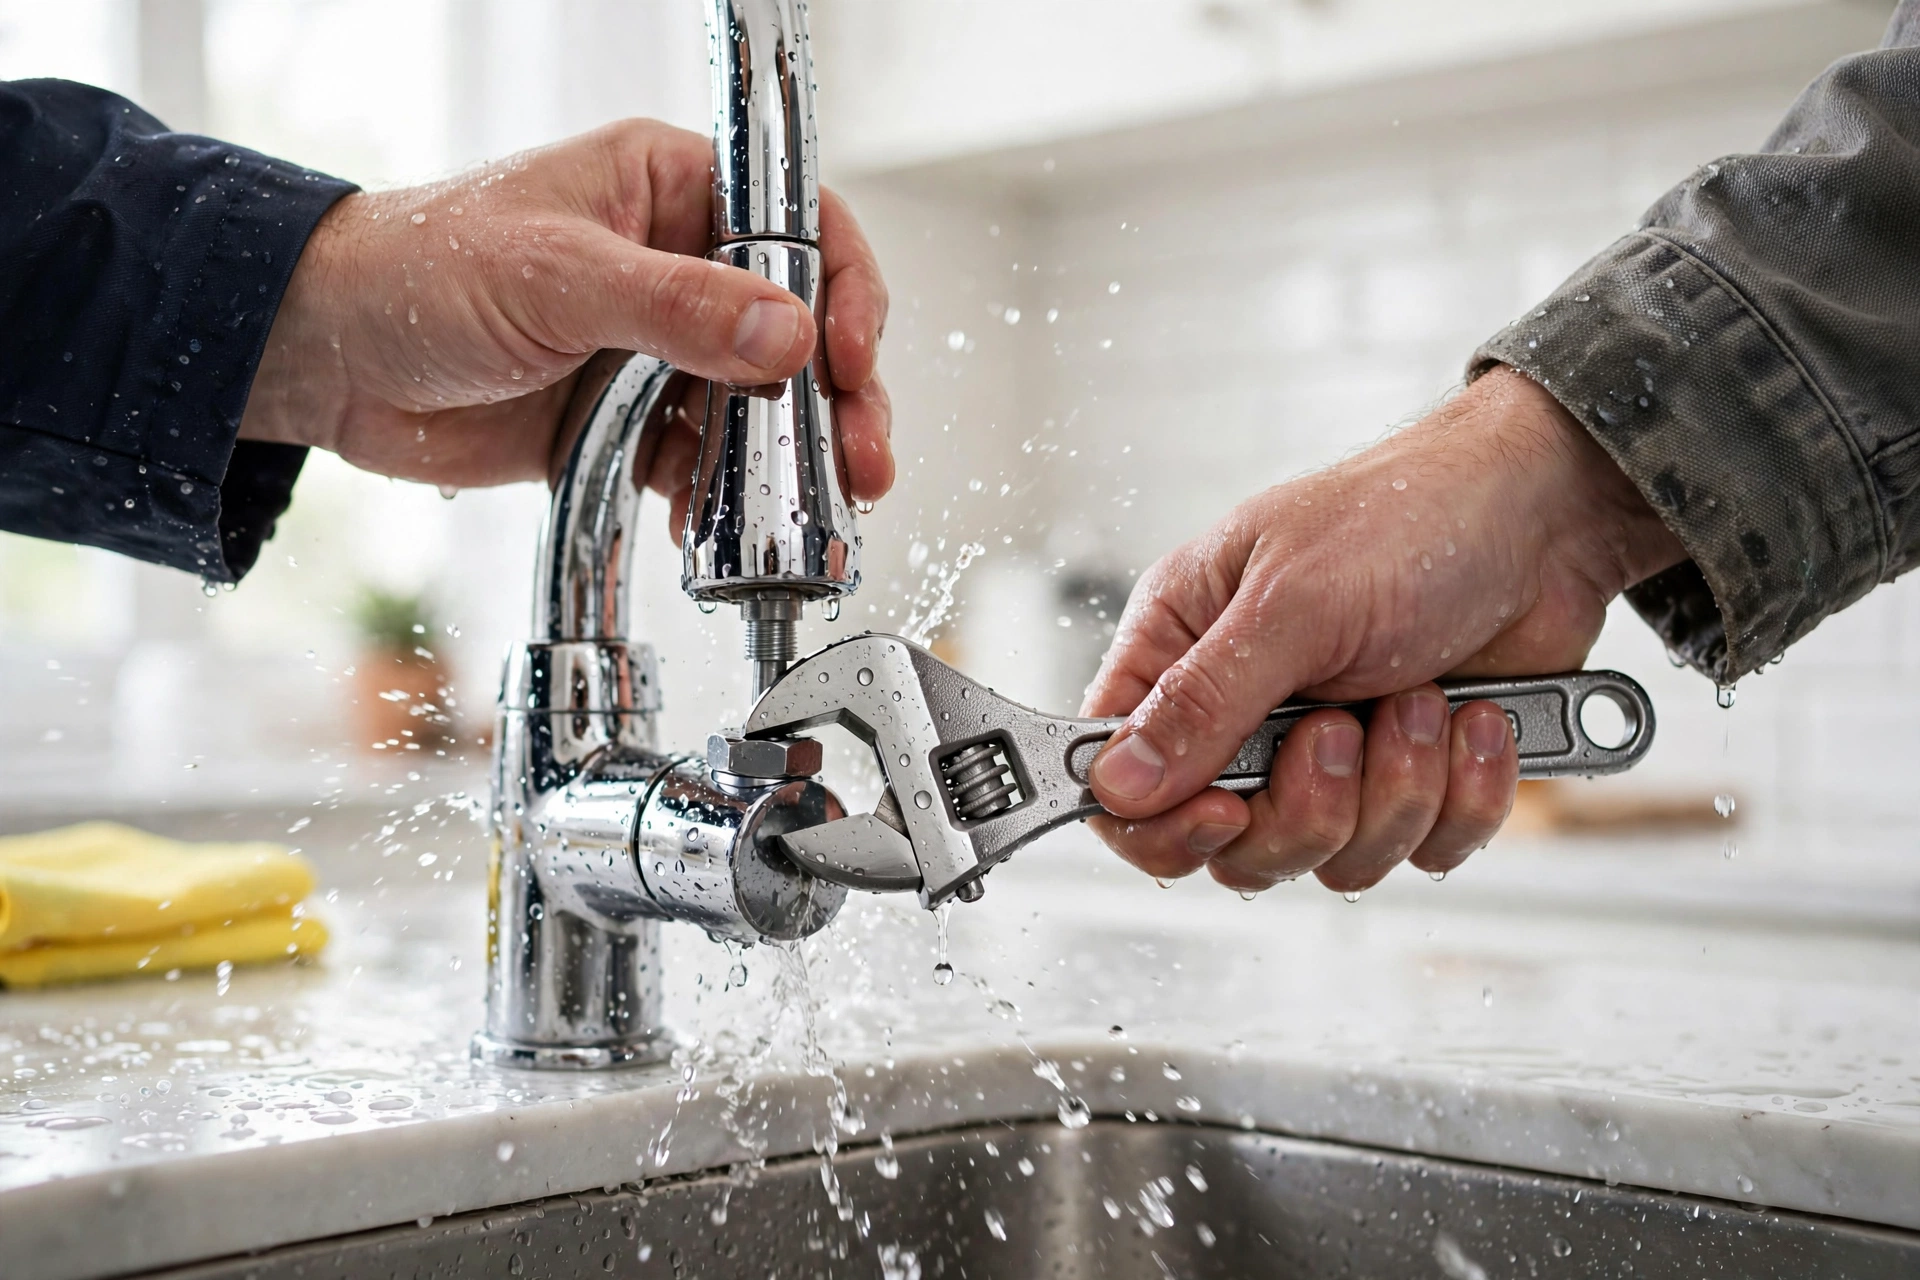
    A dripping faucet is one of those small household annoyances that can quietly cost you hundreds of dollars a year. According to the EPA, a faucet that drips once per second can waste more than 3,000 gallons of water annually — enough to take 180 showers. Beyond the water bill, that constant drip wears on your patience and can stain sinks and cause mineral buildup. The good news? Fixing a leaky faucet is one of the most approachable DIY plumbing repairs you can tackle. Most fixes take under an hour and require only basic tools.

    This guide walks you through diagnosing your faucet type, gathering the right tools, and completing the repair step by step for both kitchen and bathroom faucets. You’ll also learn the common mistakes that trip up beginners and — just as important — how to recognize when it’s time to call a professional plumber instead.

    Tools and Materials You’ll Need

    Before you start, gather everything so you’re not scrambling mid-repair with water shut off. Here’s what most faucet repairs require:

    • Adjustable wrench — for loosening nuts and fittings
    • Phillips and flathead screwdrivers — most faucet handles are held by one of these
    • Allen wrench set — many modern single-handle faucets use a hex screw
    • Plumber’s grease (silicone-based) — lubricates O-rings and cartridges for smooth operation
    • Replacement parts — washers, O-rings, or a cartridge, depending on your faucet type (more on identifying yours below)
    • Towels and a small bucket — to catch residual water
    • Vinegar or a calcium/lime remover — for cleaning mineral deposits off parts
    • A phone or camera — take photos as you disassemble so you can reassemble in the right order

    Tip: Before buying parts, identify your faucet’s brand and model. Look for a logo on the faucet body or the escutcheon plate. If you can find the model number, you can order the exact replacement cartridge or repair kit from the manufacturer — many brands like Moen, Delta, and Kohler offer free replacement parts under warranty.

    Step 1: Identify Your Faucet Type

    There are four common faucet designs in US homes, and the repair process differs for each. Knowing which one you have is the most important step.

    Compression Faucets

    These are the classic two-handle faucets — separate hot and cold knobs that you twist multiple turns to open and close. If you have to turn the handle more than a quarter turn, it’s almost certainly a compression faucet. They use rubber washers that press against a valve seat to stop water flow, and worn washers are the most common cause of drips.

    Cartridge Faucets

    Available in both single- and double-handle versions. The handle moves up and down to control flow and side to side for temperature (on single-handle models). Inside is a replaceable cartridge — a self-contained unit that controls water flow. When these leak, you typically replace the whole cartridge.

    Ball Faucets

    Common in kitchens, especially older Delta models. A single handle sits atop a rounded cap and moves in all directions. Inside is a slotted metal or plastic ball that aligns with water inlets. These have the most parts (springs, seats, O-rings, cam) and are slightly more complex to repair.

    Ceramic Disc Faucets

    The most modern and durable type. A single lever moves over a wide cylindrical body. Inside, two ceramic discs slide against each other to control flow. They’re very reliable but when they do leak, the fix usually involves cleaning or replacing the disc cylinder and its seals.

    Step 2: Shut Off the Water Supply

    This step is non-negotiable. Look under the sink for the shut-off valves — there should be one for hot and one for cold. Turn them clockwise until they stop. Then turn on the faucet to release any remaining pressure and confirm the water is fully off.

    If you can’t find shut-off valves under the sink (common in older homes), you’ll need to shut off the main water supply to the house. The main shut-off is usually near the water meter, in the basement, or where the water line enters the house. After shutting off the main, open the faucet to drain the lines.

    Safety note: Never skip this step. Working on a pressurized faucet can cause water to spray everywhere, damage cabinets, and create a slipping hazard.

    Step 3: Plug the Drain

    Stuff a rag or use a sink stopper to plug the drain before you remove any parts. Faucet screws and small components are notorious for bouncing straight down the drain, turning a 30-minute job into a plumbing nightmare. If your sink is also draining slowly, see how to unclog a drain without calling a plumber.

    Step 4: Disassemble the Faucet

    For Compression (Two-Handle) Faucets

    1. Pry off the decorative cap on top of the handle with a flathead screwdriver to expose the handle screw.
    2. Remove the handle screw and lift off the handle. You may need to wiggle it gently — mineral buildup can make handles stick.
    3. Unscrew the packing nut with your adjustable wrench. Underneath, you’ll find the stem.
    4. Remove the stem by turning it counterclockwise (as if opening the faucet).
    5. At the bottom of the stem, you’ll see a small screw holding a rubber washer. Remove the screw and washer.
    6. Inspect the washer — if it’s cracked, flattened, or hardened, that’s your culprit. Also check the O-ring around the stem.
    7. Look inside the faucet body at the valve seat (the surface the washer presses against). If it’s rough or pitted, it may need resurfacing with a valve seat wrench or replacement.

    For Cartridge (Single-Handle) Faucets

    1. Look for a small set screw on the handle — it’s often hidden under a red/blue temperature indicator cap or on the back of the handle. Loosen it with an Allen wrench.
    2. Lift the handle straight off.
    3. Remove the decorative cap or dome, then unscrew the retaining nut holding the cartridge.
    4. Note the orientation of the cartridge (take a photo!), then pull it straight out. Some cartridges need a gentle twist; pliers with a cloth to protect the finish can help with stubborn ones.
    5. Inspect the cartridge and the O-rings around it for wear, cracks, or mineral buildup.

    For Ball Faucets

    1. Loosen the set screw and remove the handle.
    2. Unscrew the cap with adjustable pliers (wrap the jaws with a cloth to avoid scratching the finish).
    3. Remove the cam, cam washer, and the rotating ball. Note the exact order and orientation.
    4. Under the ball, you’ll find two rubber seats with small springs beneath them. Use an Allen wrench or your finger to lift them out.
    5. Replace the seats, springs, O-rings, and cam washer — most hardware stores sell a complete repair kit for your faucet brand.

    For Ceramic Disc Faucets

    1. Remove the handle (usually a set screw on the side or back).
    2. Remove the escutcheon cap to expose the disc cylinder.
    3. Unscrew the cylinder mounting screws and lift out the cylinder.
    4. Inspect the ceramic discs for cracks and the rubber seals underneath for wear. Clean any mineral deposits with vinegar.
    5. Replace the seals and, if the discs are damaged, the entire cylinder.

    Step 5: Replace Worn Parts and Reassemble

    Take your old parts to the hardware store to match them exactly — washers and O-rings come in dozens of sizes, and close enough isn’t good enough. Better yet, buy a repair kit specific to your faucet brand and model.

    Before reassembling:

    • Clean all components with vinegar to remove mineral deposits.
    • Apply a thin coat of plumber’s grease to O-rings and the cartridge — this extends their life and makes future disassembly easier.
    • If you’re replacing a washer on a compression faucet, make sure it sits flat against the stem with no gaps.

    Reassemble in the reverse order of disassembly, referring to the photos you took. Tighten nuts firmly but don’t overtighten — brass fittings can crack under excessive force, and overtightened packing nuts make handles hard to turn.

    Step 6: Turn the Water Back On and Test

    Remove the drain plug, then slowly turn the shut-off valves back on (counterclockwise). Turn the faucet on and let water run for 30 seconds to flush out any debris. Then turn it off and watch closely for several minutes. Check under the sink for any leaks at the supply connections too.

    If the drip is gone, congratulations — you’ve just completed a repair that would cost $150 to $300 if you called a plumber.

    When to Call a Plumber

    DIY is great, but know your limits. Call a professional if:

    • The shut-off valves don’t work or are corroded. If you can’t stop the water flow, you can’t safely do the repair.
    • You find corroded or damaged pipes under the sink.
    • The faucet body itself is cracked.
    • You’ve replaced the parts and it still leaks.
    • Multiple fixtures are leaking or have low pressure.

    Conclusion

    Fixing a leaky faucet is one of the highest-value DIY repairs a homeowner can learn. For the cost of a $5–$20 repair kit and about an hour of your time, you’ll stop wasting water, lower your utility bill, and gain confidence for bigger projects.

    Disclaimer: This guide is for informational purposes only. Plumbing work involves water supply systems, and mistakes can cause water damage. If you’re unsure about any step, consult a licensed plumber. Always follow local building codes.