Every homeowner eventually faces the same moment: something breaks, and you realize you don’t own the right tool to fix it. Maybe it’s a loose doorknob, a picture that needs hanging, or a running toilet at 10 PM on a Sunday. Calling a handyman for every small job gets expensive fast — the average service call runs $75 to $150 before any work is even done.
The solution isn’t to buy an entire workshop. It’s to own a carefully chosen set of versatile, quality tools that handle the vast majority of common household repairs and projects. This guide covers the 10 essential tools every homeowner should own, explains exactly what each one does, why it earns its place, and what to look for when buying.
1. Claw Hammer (16 oz)
What it does: Drives and removes nails, and the curved claw doubles as a light-duty pry bar for pulling trim or opening paint cans.
Why you need it: The hammer is the most fundamental hand tool in existence. You’ll use it to hang pictures, assemble furniture, tap things into alignment, and perform countless small tasks. A 16-ounce hammer hits the sweet spot for homeowners — heavy enough to drive framing nails but light enough for finish work without exhausting your arm.
What to look for: Choose a hammer with a comfortable, shock-absorbing grip (rubber or cushioned vinyl over fiberglass or steel handle). Avoid ultra-cheap hammers with loose heads — a flying hammer head is genuinely dangerous. Expect to pay $20 to $35 for a quality homeowner-grade hammer from brands like Estwing, Stanley, or Craftsman. A smooth face is best for general use; a milled (waffled) face grips nails better but mars wood surfaces.
2. Tape Measure (25 ft)
What it does: Measures distances, dimensions, and clearances — the starting point of virtually every project.
Why you need it: “Measure twice, cut once” isn’t just a saying; it’s the difference between a project that fits and an expensive pile of wasted material. You’ll use a tape measure for hanging curtains, buying furniture, planning room layouts, spacing picture frames, and marking cuts. A 25-foot tape handles everything from small craft measurements to room dimensions.
What to look for: Get a tape with a wide blade (3/4″ to 1″) — wider blades extend farther without collapsing, which matters when you’re measuring alone. A standout of 7 to 9 feet is ideal. Look for clear, large markings (including stud spacing indicators at 16″ intervals, marked in red on many tapes) and a sturdy belt clip. Quality tapes cost $12 to $25. Pro tip: the metal tip is supposed to wiggle slightly — that’s intentional, accounting for the tip’s thickness on inside vs. outside measurements.
3. Cordless Drill/Driver (12V or 18V)
What it does: Drills pilot holes and drives screws dramatically faster than doing it by hand. With the right bits, it can also mix paint, drive bolts, and even sand.
Why you need it: This is the single biggest time-saver on this list. Assembling flat-pack furniture, mounting a TV bracket, installing shelves, building a deck — a drill/driver turns hour-long screwdriving marathons into minutes. If you buy only one power tool, make it this one.
What to look for: For most homeowners, a 12V drill/driver is plenty and noticeably lighter and easier to handle than an 18V model. If you plan heavier projects (deck building, drilling into masonry), step up to 18V. Key features: two batteries (so one charges while you work), a variable-speed trigger, a keyless chuck, and a clutch with multiple torque settings (prevents stripping screws). Stick with a major brand platform (DeWalt, Milwaukee, Makita, Ryobi, Bosch) so batteries are interchangeable with future tool purchases. Expect $60 to $130 for a quality kit with two batteries and a charger. Also buy a basic drill bit and driver bit set ($20–$40) — the drill is useless without bits.
4. Screwdriver Set
What it does: Tightens and loosens screws of all types — Phillips, flathead, Torx, and square drive.
Why you need it: Even with a drill/driver, you’ll constantly need manual screwdrivers for delicate work: tightening eyeglass screws, opening battery compartments, adjusting door hinges, or working in tight spaces where a drill won’t fit. Electrical work (like swapping a light switch) demands insulated screwdrivers used carefully with power off.
What to look for: Buy a set, not individual drivers — a 6 to 10-piece set covering Phillips #1/#2/#3 and flathead in several sizes handles nearly everything. Magnetic tips are extremely helpful for not dropping screws into crevices. Comfortable, full-size handles give better torque than stubby pocket drivers. A good set costs $15 to $30. Avoid the temptation of a 100-piece “precision” set as your only screwdrivers — those tiny drivers are for electronics, not household work.
5. Adjustable Wrench (10-inch)
What it does: Grips and turns nuts, bolts, and fittings of various sizes — one tool replaces a whole set of fixed wrenches for occasional use.
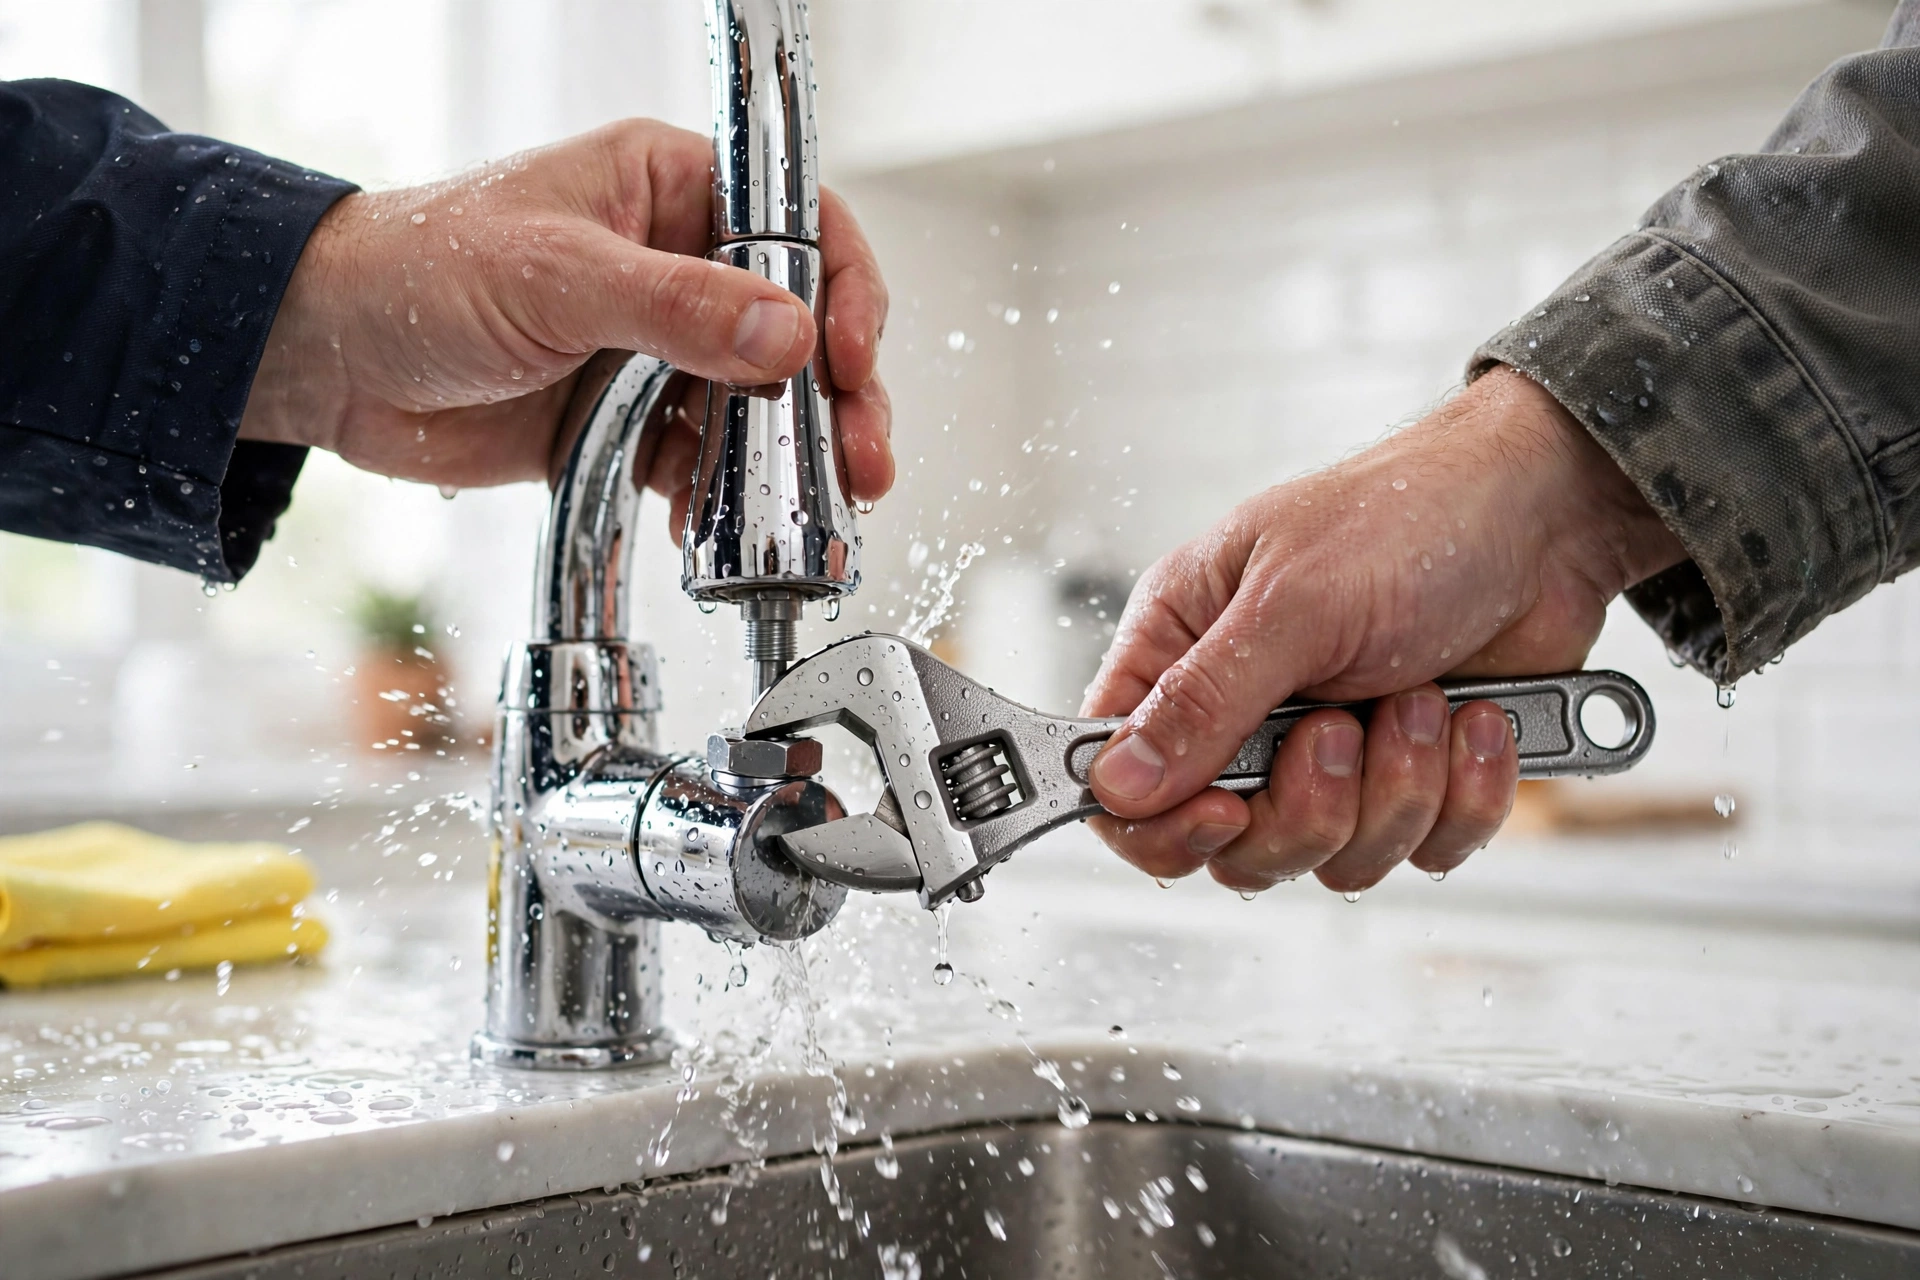
Why you need it: Plumbing repairs (like the leaky faucet fix), assembling furniture with hex bolts, tightening a loose showerhead, adjusting a bike — the adjustable wrench handles all of these. A 10-inch wrench covers the most common household nut sizes while still fitting under sinks.
What to look for: The jaw should adjust smoothly with no wobble, and the knurl (the thumb wheel) should turn easily. Cheap adjustable wrenches slip under load and round off nut corners — buy a reputable brand (Channellock, Crescent, Craftsman) for $18 to $30. Consider adding a second, smaller 6-inch wrench later for tight spaces. Never use an adjustable wrench as a hammer, and always pull toward you rather than pushing — if the wrench slips, you want it moving away from your knuckles, not into them.
6. Level (24-inch)
What it does: Tells you whether something is perfectly horizontal (level) or vertical (plumb).
Why you need it: Crooked shelves, tilted picture frames, a leaning fence post — the human eye is surprisingly bad at judging true level, especially on walls that aren’t perfectly straight themselves. A level ensures your work looks professional rather than amateurish. You’ll use it for hanging anything on walls, installing curtain rods, setting appliances, and checking floors.
What to look for: A 24-inch level is the most versatile size for homeowners — long enough for shelves and small enough to handle easily. Look for a sturdy aluminum or acrylic body with at least two vials (horizontal and vertical). Magnetic edges are a nice bonus for working with metal. Accuracy matters more than features; test by placing the level on a flat surface, noting the bubble position, then flipping it end-to-end — the bubble should read the same. Quality levels run $15 to $35. For longer spans (like checking a whole wall), you can extend your reach by placing the level on a known-straight board.
7. Utility Knife
What it does: Cuts boxes, trims wallpaper, scores drywall, strips wire insulation, opens packaging, and handles dozens of cutting tasks.
Why you need it: You’ll reach for this more often than you’d expect. It’s the right tool for breaking down moving boxes, cutting rope and twine, trimming carpet edges, sharpening pencils for marking, and scoring materials before snapping them. A sharp utility knife is actually safer than a dull one — dull blades require more force and slip more easily.
What to look for: Get a retractable knife with a comfortable grip and quick blade-change mechanism. Buy extra blades — a 50-pack costs under $10 and you’ll go through them. Always retract the blade when not in use, and cut away from your body. For $10 to $20, this is the cheapest tool on the list and one of the most used. Keep it in a drawer, not loose in a toolbox where you might grab the exposed blade.
8. Pliers Set (Slip-Joint + Needle-Nose)
What they do: Grip, bend, twist, and pull. Slip-joint pliers handle larger objects (pipe fittings, stubborn lids); needle-nose pliers reach into tight spaces and grip small items (wire, pins, cotter keys).
Why you need them: Pliers are your “third hand.” They hold a nut while you turn a bolt, pull nails the hammer claw can’t reach, bend wire for a picture hanger, and grip stripped screws. Needle-nose pliers are essential for any electrical or jewelry-scale work around the house.
What to look for: Buy them as a set — a 3-piece set (slip-joint, needle-nose, and linesman/cutting pliers) typically costs $25 to $45 and covers everything. Look for hardened steel jaws with comfortable, dipped or cushioned handles. The cutting edge near the pivot should cleanly snip wire. Avoid using pliers on finished surfaces (like chrome fixtures) without wrapping the jaws in cloth — the serrated teeth will scratch.
9. Stud Finder
What it does: Locates wooden studs behind drywall so you can anchor heavy items securely.
Why you need it: Drywall alone can’t hold much weight — a TV mount, heavy mirror, or bookshelf anchored only to drywall will eventually rip out and damage your wall. Studs (the vertical 2×4 framing behind the wall) provide solid anchoring. Guessing stud locations by knocking is unreliable; a stud finder takes the guesswork out.
What to look for: Electronic stud finders ($25–$50) detect density changes behind the wall and are far more reliable than old magnetic ones. Look for one with deep-scan mode (detects through thicker walls), AC wire detection (warns you before drilling into electrical wiring — a critical safety feature), and a clear display. To use: calibrate on an empty wall section, then slide slowly horizontally until it indicates a stud edge. Mark both edges — the center between them is your target. Always verify with a small pilot hole before committing to a large anchor.
10. Stepladder (4-foot)
What it does: Gives you safe, stable elevation for reaching ceilings, high shelves, light fixtures, and the tops of cabinets.
Why you need it: Standing on chairs, countertops, or wobbly step stools is one of the leading causes of household fall injuries. A proper stepladder with a stable base, locking spreader bars, and a top platform for tools is dramatically safer. You’ll use it for changing light bulbs, painting a room like a professional, cleaning gutters (from a safe height), installing smoke detectors, and reaching high storage.
What to look for: A 4-foot stepladder reaches 8-foot ceilings comfortably for most adults. Choose fiberglass over aluminum if you’ll ever work near electricity (fiberglass doesn’t conduct). Check the duty rating — Type IA (300 lbs) is the sturdiest for homeowner use. Look for wide, slip-resistant steps, a tool tray on top, and spreader bars that lock firmly. Expect $60 to $120. Never stand on the top cap or the top step, keep your hips within the rails (don’t overreach sideways), and always set up on firm, level ground.
Conclusion
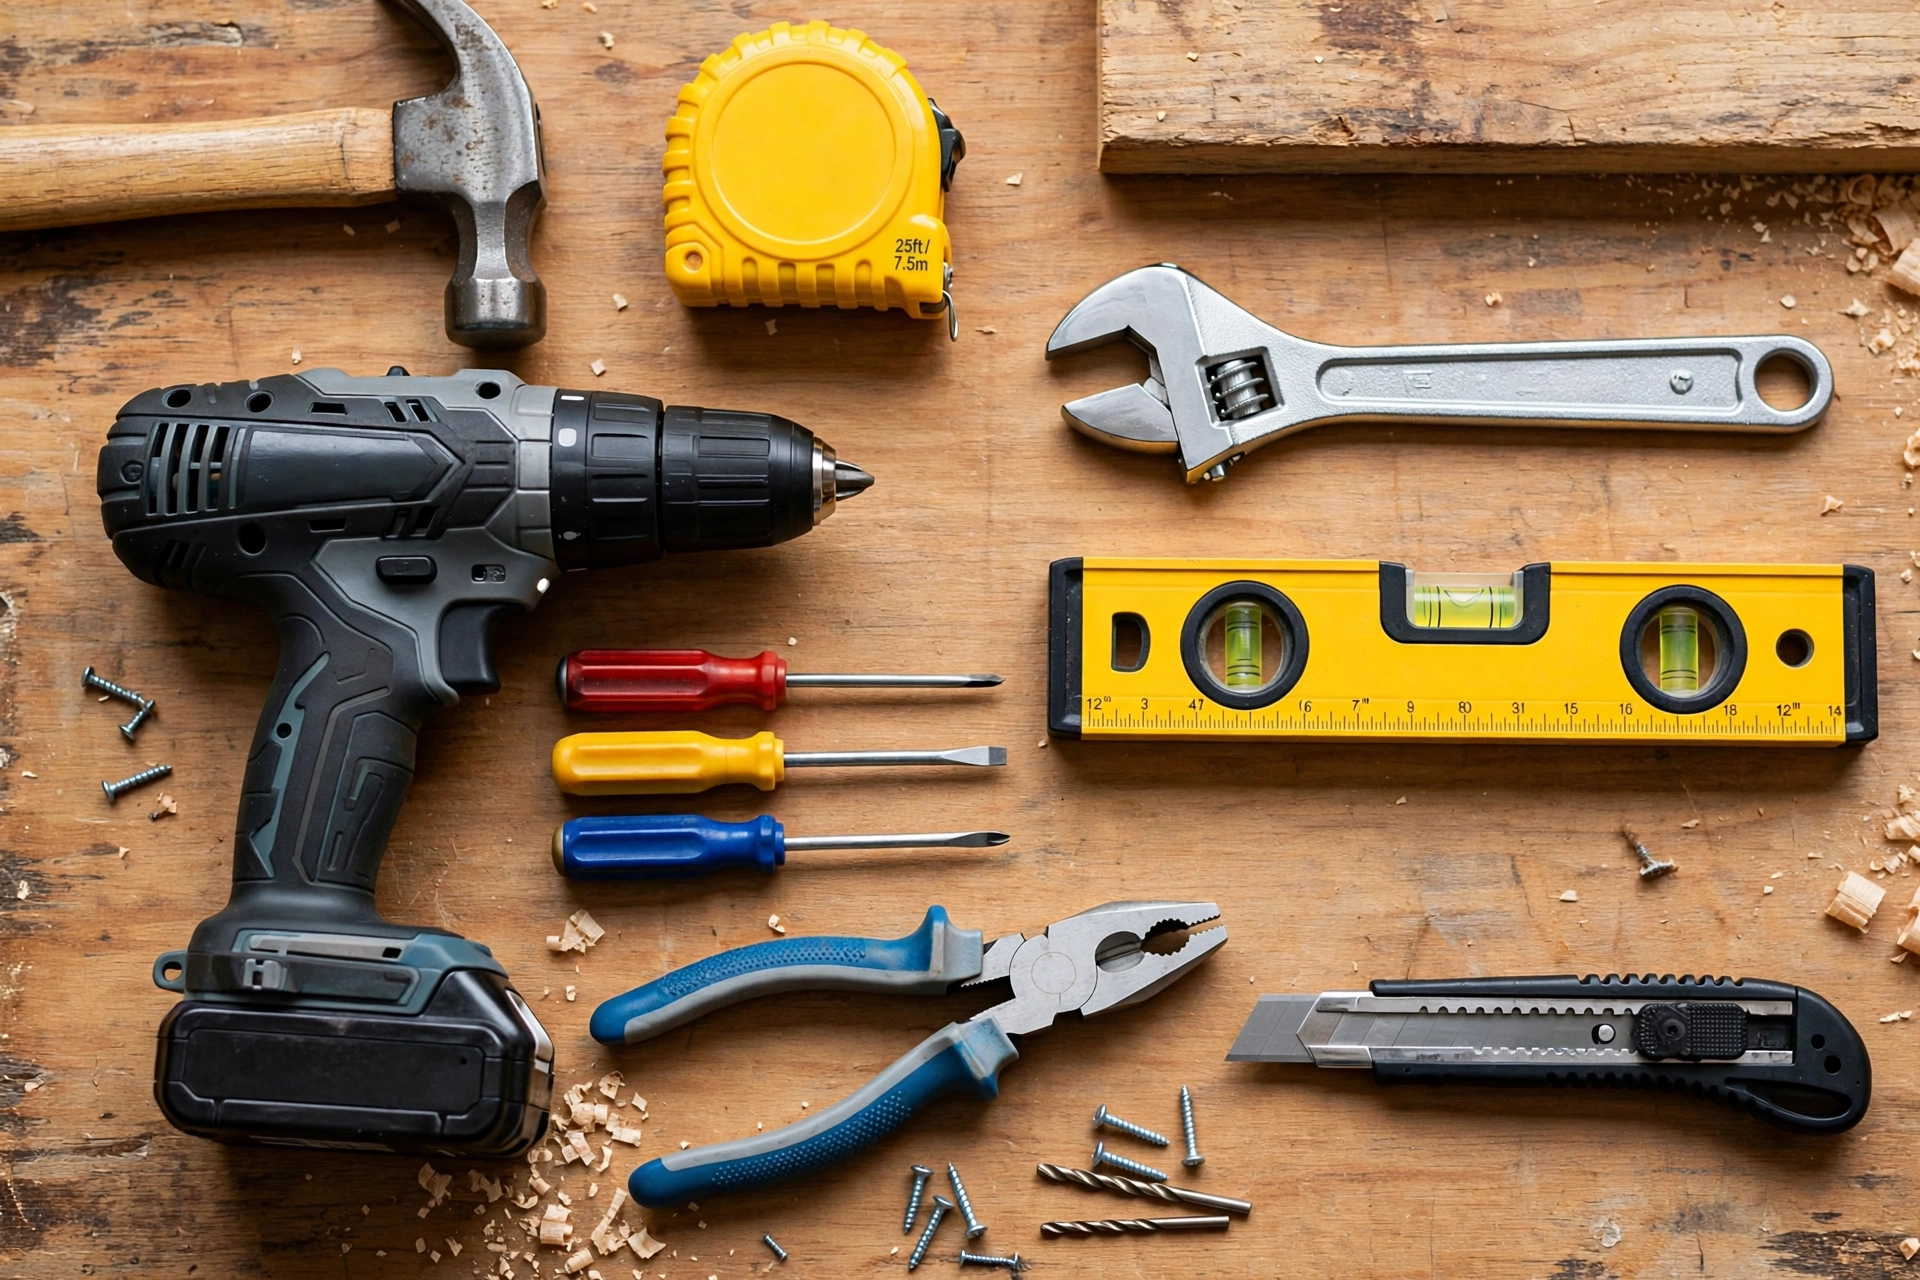
These ten tools — hammer, tape measure, cordless drill/driver, screwdrivers, adjustable wrench, level, utility knife, pliers, stud finder, and stepladder — will handle the overwhelming majority of repairs and projects a homeowner encounters. The total investment for quality versions runs roughly $300 to $500, which you’ll recoup the first few times you fix something yourself instead of calling a professional.
Start with the basics, buy quality where it counts, and add specialized tools as your projects demand them. Before long, you’ll look at a household problem and think “I can fix that” — and you’ll be right.
Disclaimer: This guide is for informational purposes only. Always follow tool manufacturers’ safety instructions. For electrical work, turn off power at the breaker and verify with a voltage tester; when in doubt, hire a licensed electrician. For plumbing and structural work beyond basic repairs, consult a qualified professional.