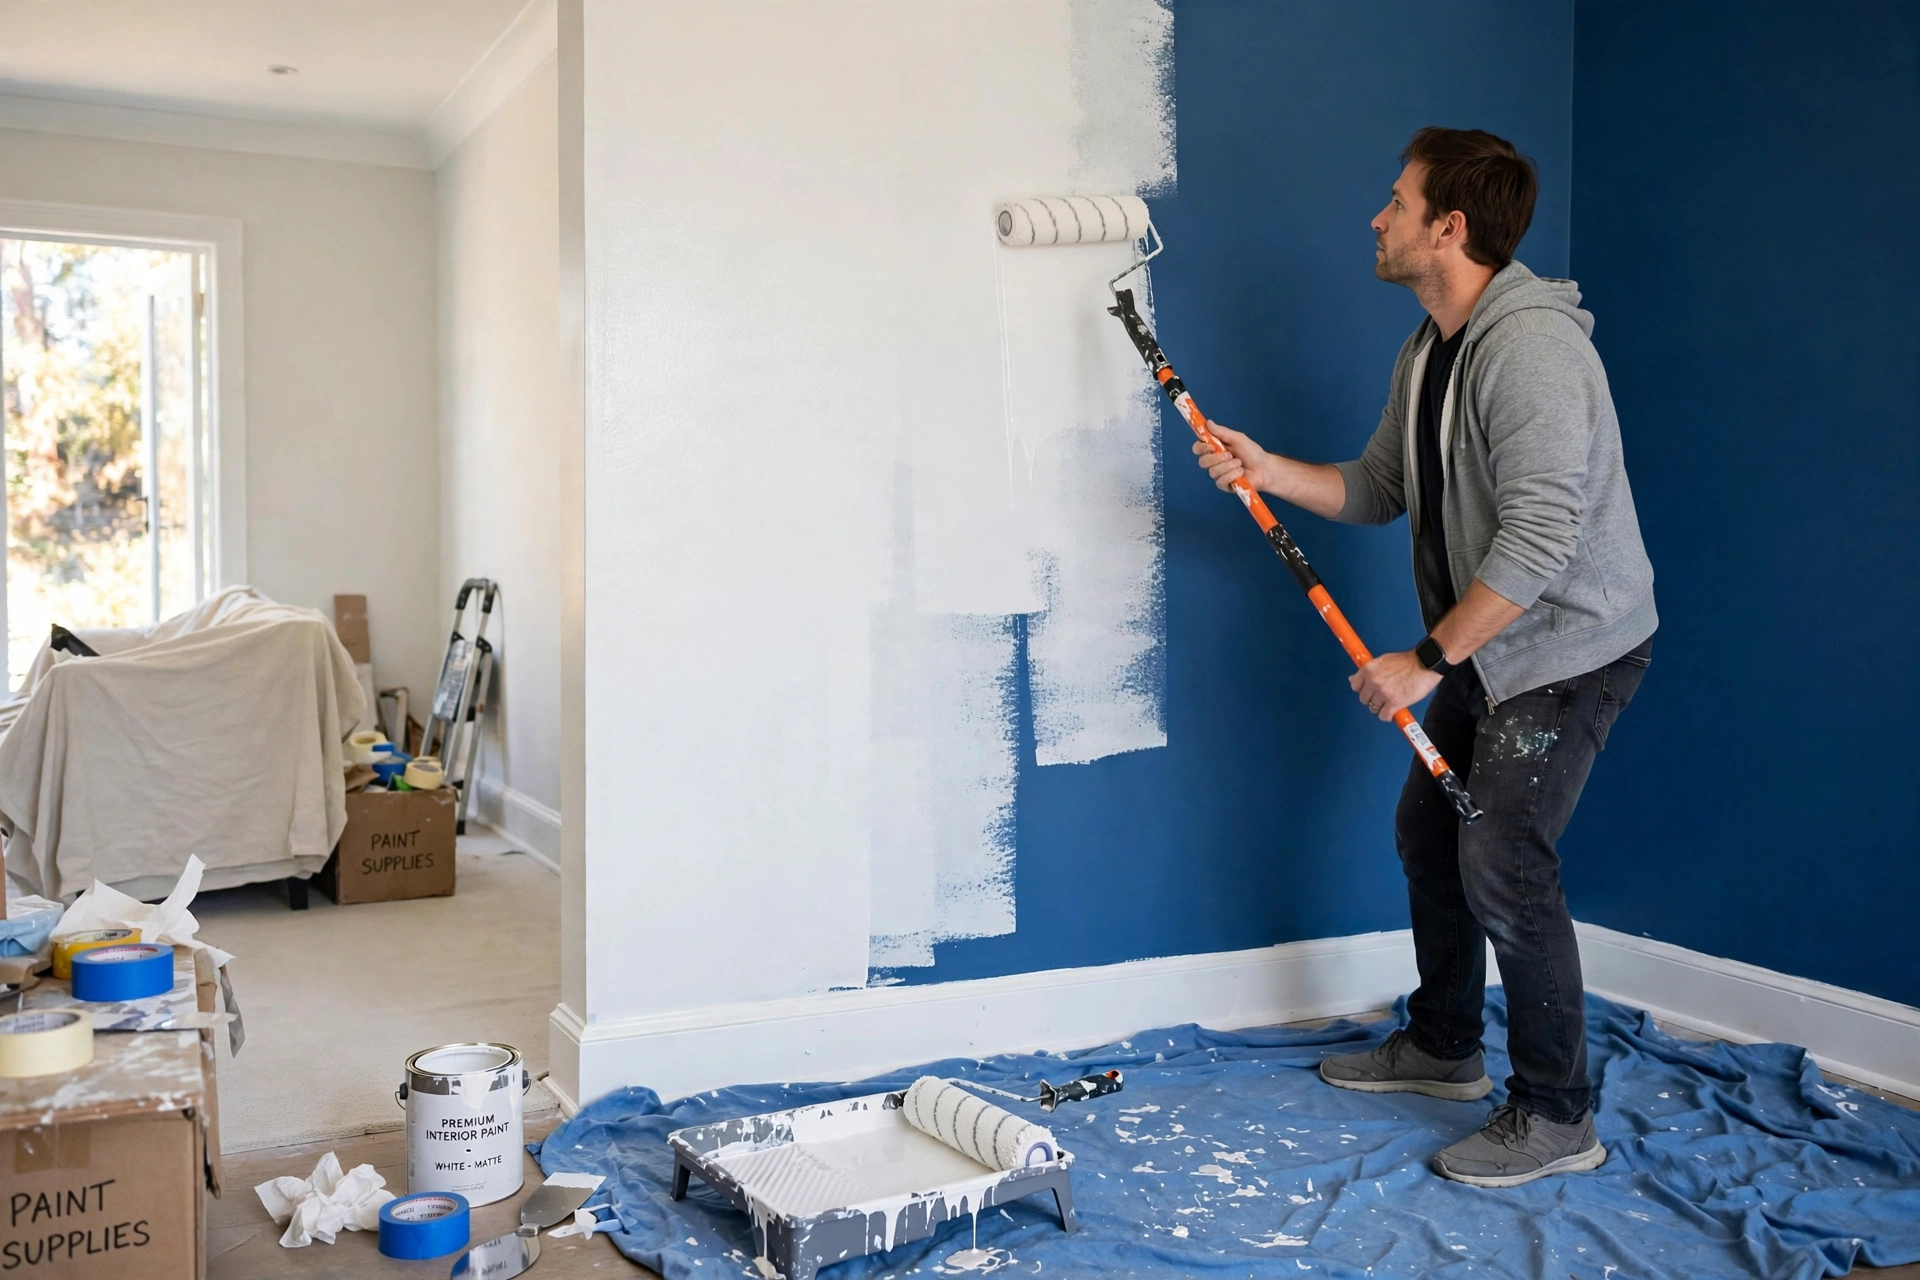
A fresh coat of paint is the single most cost-effective way to transform a room. For $50 to $150 in materials, you can make a tired space feel brand new — no contractor required. Yet anyone who’s attempted it knows the gap between slapping paint on a wall and achieving that smooth, professional finish. The difference isn’t talent or expensive equipment. It’s preparation, technique, and knowing the mistakes to avoid.
This guide covers the entire process the way professionals do it: choosing the right paint and tools, prepping the room properly, cutting in and rolling like a pro, avoiding the classic beginner errors, and cleaning up so your tools last for the next project.
Choosing Your Paint
Paint Types: Latex vs. Oil-Based
For interior walls, latex (water-based) paint is the right choice in virtually every situation. It dries quickly (1–2 hours to touch), has low odor, cleans up with soap and water, and resists yellowing over time. Modern latex paints have improved so dramatically that they now rival oil-based paints in durability and finish quality.
Oil-based (alkyd) paint is still occasionally used for trim and doors because it levels out to an exceptionally smooth, hard finish. However, it takes 6–8 hours to dry, requires mineral spirits for cleanup, has strong fumes (ventilation is essential), and is restricted or banned in some areas due to VOC regulations. For most homeowners painting walls, latex is the answer.
Understanding Paint Finishes
The finish (or sheen) affects both appearance and durability. Here’s how to choose:
- Flat/Matte: No shine. Best for ceilings and low-traffic walls with imperfections, because it hides flaws beautifully. Downside: it’s the hardest to clean — scrubbing can burnish the finish.
- Eggshell: A soft, subtle sheen. The most popular choice for living rooms and bedrooms. It hides minor imperfections while being washable enough for everyday life.
- Satin: Slightly more sheen than eggshell. Excellent for kitchens, bathrooms, hallways, and kids’ rooms — areas that need frequent wiping. It’s more durable but shows wall imperfections more than flatter finishes.
- Semi-gloss: Noticeable shine. Traditionally used for trim, doors, and cabinets because it’s highly durable and easy to clean. Too shiny for large wall areas in most homes.
- High-gloss: Very shiny and dramatic. Reserved for trim, doors, and furniture. Shows every imperfection, so surface prep must be flawless.
Rule of thumb: Eggshell or satin for walls, semi-gloss for trim and doors, flat for ceilings.
Choosing Colors
- Test before committing. Paint large swatches (at least 2×2 feet) on the wall or buy sample pints and paint poster boards you can move around. Observe the color in morning, afternoon, and evening light — it changes dramatically.
- Consider the room’s orientation. North-facing rooms get cooler, bluer light (warm colors compensate nicely). South-facing rooms get warm light (cooler colors balance it).
- Go one shade lighter than you think. Color always looks darker and more saturated on a full wall than on a tiny swatch.
- Coordinate with fixed elements. Flooring, countertops, and large furniture aren’t changing — choose wall colors that complement them.
How Much Paint to Buy
One gallon of paint typically covers 350–400 square feet per coat. For a typical 12×12 bedroom with 8-foot ceilings: perimeter is 48 feet × 8 feet = 384 sq ft, minus ~50 for door/window = ~334 sq ft. That’s about 1 gallon per coat, so buy 2 gallons. It’s always better to have a little extra — running out mid-wall creates visible lap marks.
Tools You’ll Need
- Rollers: A 9-inch roller frame with 3/8-inch nap covers for smooth walls.
- Brushes: A 2.5-inch angled sash brush for cutting in and trim work.
- Paint tray with liner, painter’s tape, drop cloths, extension pole, putty knife and spackle, sandpaper (120-grit), 5-in-1 painter’s tool.
These cover painting specifically — for a complete DIY toolkit, see our list of 10 essential tools every homeowner should own.
Prepping the Room (The Step Everyone Skips)
Professionals spend more time on prep than on painting. This is the real secret to a professional finish.
1. Clear and Protect
- Remove all furniture from the room if possible. For large pieces, move them to the center and cover with drop cloths.
- Take down curtains, blinds, outlet covers, switch plates, and vent covers.
- Lay drop cloths over the entire floor, tucking edges under baseboards.
2. Clean the Walls
Wipe down walls with a damp sponge and mild detergent. For kitchens or smoky rooms, use TSP substitute. Let walls dry completely before painting.
3. Repair Imperfections
- Fill nail holes and small dents with lightweight spackle using a putty knife.
- Once dry, sand smooth with 120-grit sandpaper.
- Wipe away sanding dust with a damp cloth.
4. Caulk Gaps
Run a thin bead of paintable caulk along gaps between trim and walls. This single step dramatically improves the finished look.
Painting Technique: Cutting In and Rolling
Cutting In
- Load your angled brush about a third of the way up the bristles.
- Start about an inch away from the edge, then sweep the brush toward the edge in a smooth stroke.
- Cut in a 2–3 inch band around all edges: ceiling line, baseboards, door/window trim, and corners.
Rolling the Walls
- Load the roller until evenly saturated but not dripping.
- Roll in a “W” or “M” pattern to distribute paint, then fill in with parallel strokes.
- Always roll from dry areas into wet areas (“maintain a wet edge”).
- Work top to bottom, completing one wall before moving to the next.
Order of Operations
- Ceiling first — drips fall down, not up.
- Walls second — cut in, then roll.
- Trim, doors, and baseboards last.
Common Mistakes to Avoid
- Skipping prep work. Prep determines 80% of the outcome.
- Using cheap brushes and rollers. A $12 brush outperforms a $3 brush enormously.
- Not buying enough paint. Buy extra for touch-ups.
- Overloading the brush or roller. Multiple thin coats beat one thick coat.
- Letting the cut-in dry before rolling. This creates visible “hatbanding.”
Conclusion
Painting a room like a professional comes down to three things: thorough preparation, quality materials, and patient technique. Take your time with prep, invest in decent brushes and rollers, maintain a wet edge while you work, and don’t skip the second coat. Tackling a bathroom? Our bathroom renovation on a budget guide covers paint, fixtures, and more.
Disclaimer: This guide is for informational purposes only. When painting, ensure adequate ventilation and keep paint products away from children and pets. If your home was built before 1978, test for lead paint before sanding or scraping. Always follow the paint manufacturer’s safety instructions.